I’m so excited to share the final photos of our Showhouse room!
In a home that was creamy white and light, this space was a contrast, as I designed it as a dark, dramatic, woman’s retreat.
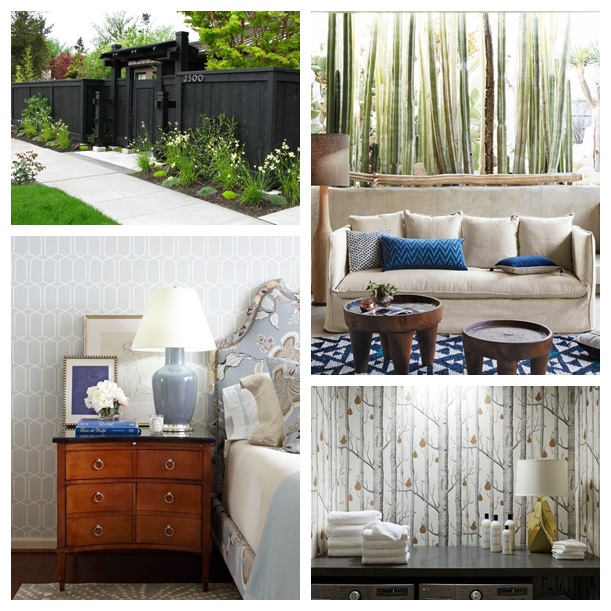
We started with the gray cabinetry, which was already in the room, and then worked with the existing color. Adding an indigo/navy blue enhanced the gray and made it feel richer and more luxurious. I wanted it to feel private, feminine, and personal. I selected this dramatic Cole and Son wallpaper that worked beautifully in the room. The birds are a bit iridescent and don’t really stand out until you get in the room and see the light reflecting off them. I love the femininity and the lightness of spirit they bring.
The rug from Stark is amazing. It’s one of my favorite patterns; and in navy it just sings! And what woman doesn’t love a little animal print. It’s just perfect for this space. (BTW... It’s for sale!)
Some velvet and silk pillows add more luxury here. This beautiful chair from Duralee fits nicely in the space, with a Highland Court velvet used on it and the bench cushion. It is just pure quality that adds so much to the room.
The touches of brass and white brighten and add contrast in the room. The alabaster lamp from Currey and Co., as well as the small marble and brass side table, were lovely additions. That lamp has such a beautiful shape, and the gilded shade stands out in the dark room. The same combination is used in the floor lamp from Circa Lighting that’s next to the chair. I love that bit of modernity it brings.
The desk from Stanley combines a beautiful wood finish with a lovely painted gray base that stands off the lively rug pattern. I love the contemporary white desk chair that was borrowed from a client, as it injected a more modern look into what’s really a more traditional space. (BTW: This desk is currently sitting in Still Goode Consignments and looking for a new home!)
In the remodel of this space we had brackets and paneling added to the cabinet. One of the most popular upgrades we did in the room was the faux finishing that was done by Phyllis Palmer of Transformations by Phyllis. The countertop was just that plain gray paint before, but artisan Luis Altamirano — who works with Transformations — did a wood grain finish for me on the top that adds so much quality to the space. Phyllis did a pearlized finish on the ceiling that adds a little gleam and finishes off the room beautifully. I was so happy to have her work in my space, as I’ve worked with her for years.
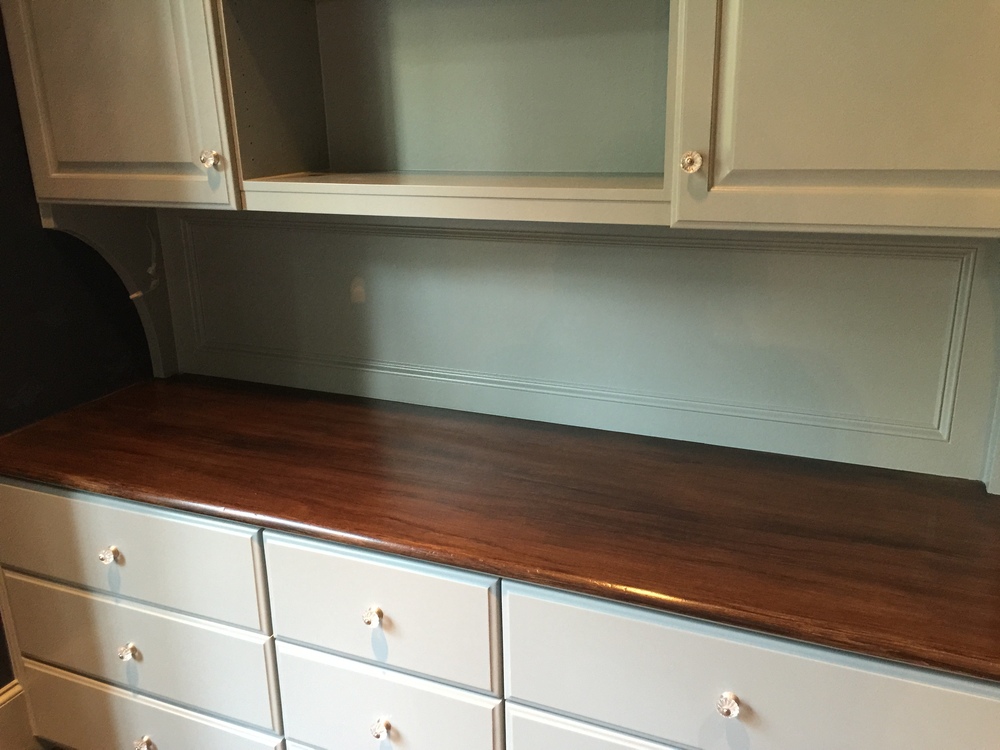
Faux finish wood top adds quality and upgrades the look of this built-in cabinet - done by Luis Altamirano of Transformations by Phyllis
The art for the room was provided by Stacy Hosrich, with framing by Framecrafters. It’s the perfect splash of a white and contemporary look, making it really stand out on top of the dark, traditional wallpaper. I think it brightens the room and makes it feel more personal.
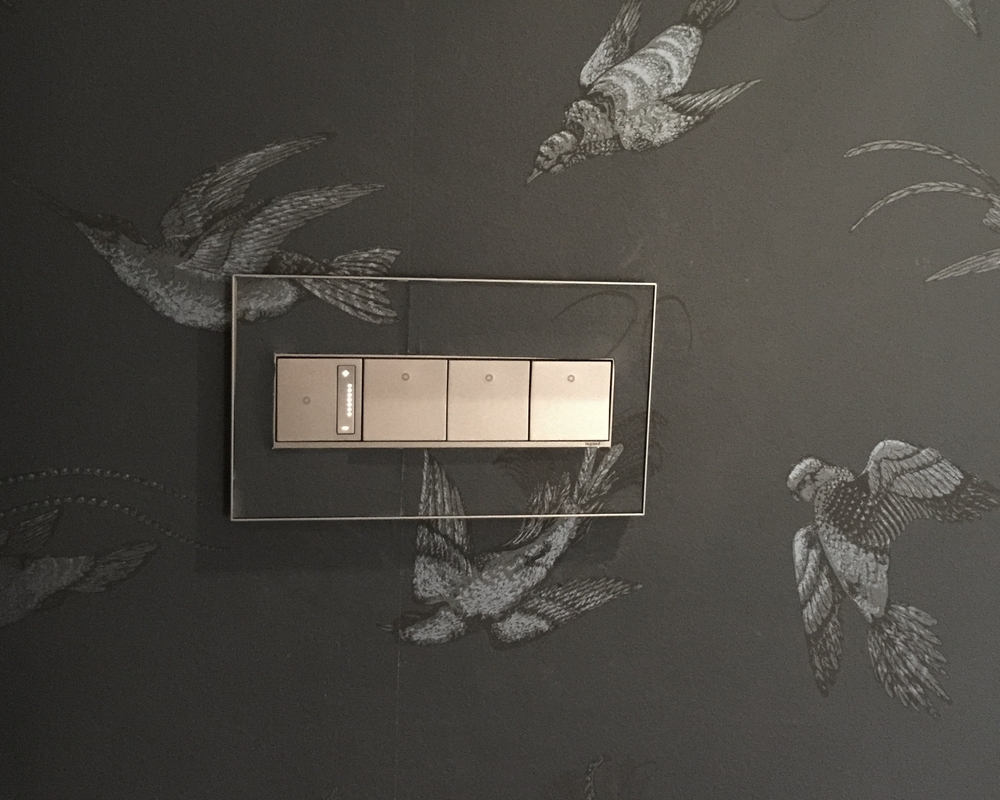
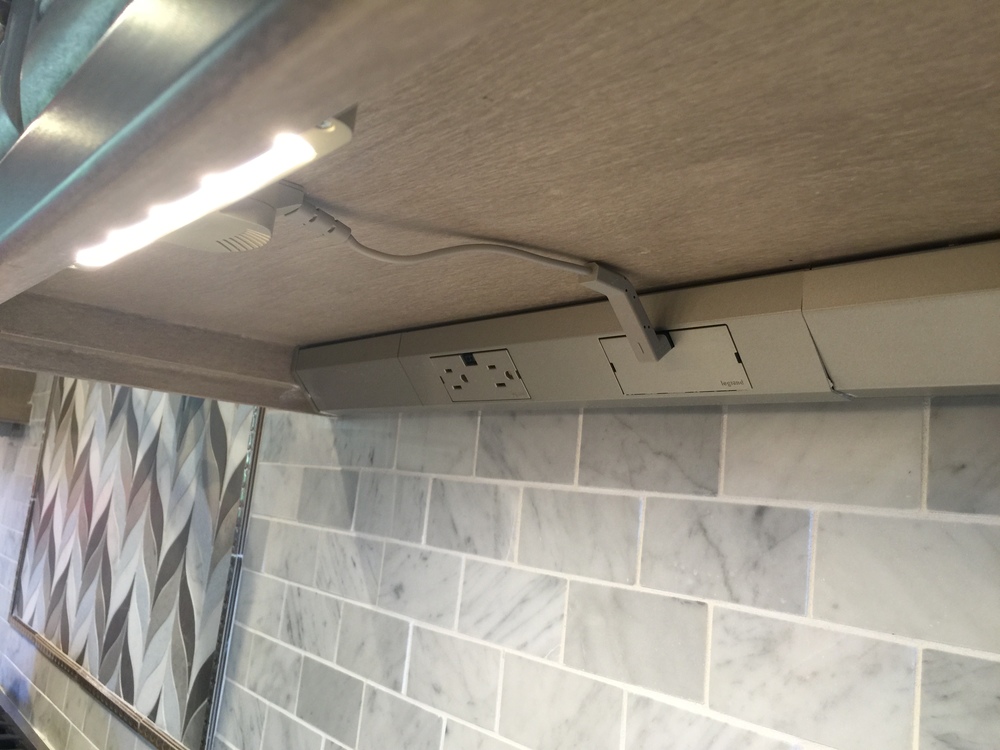
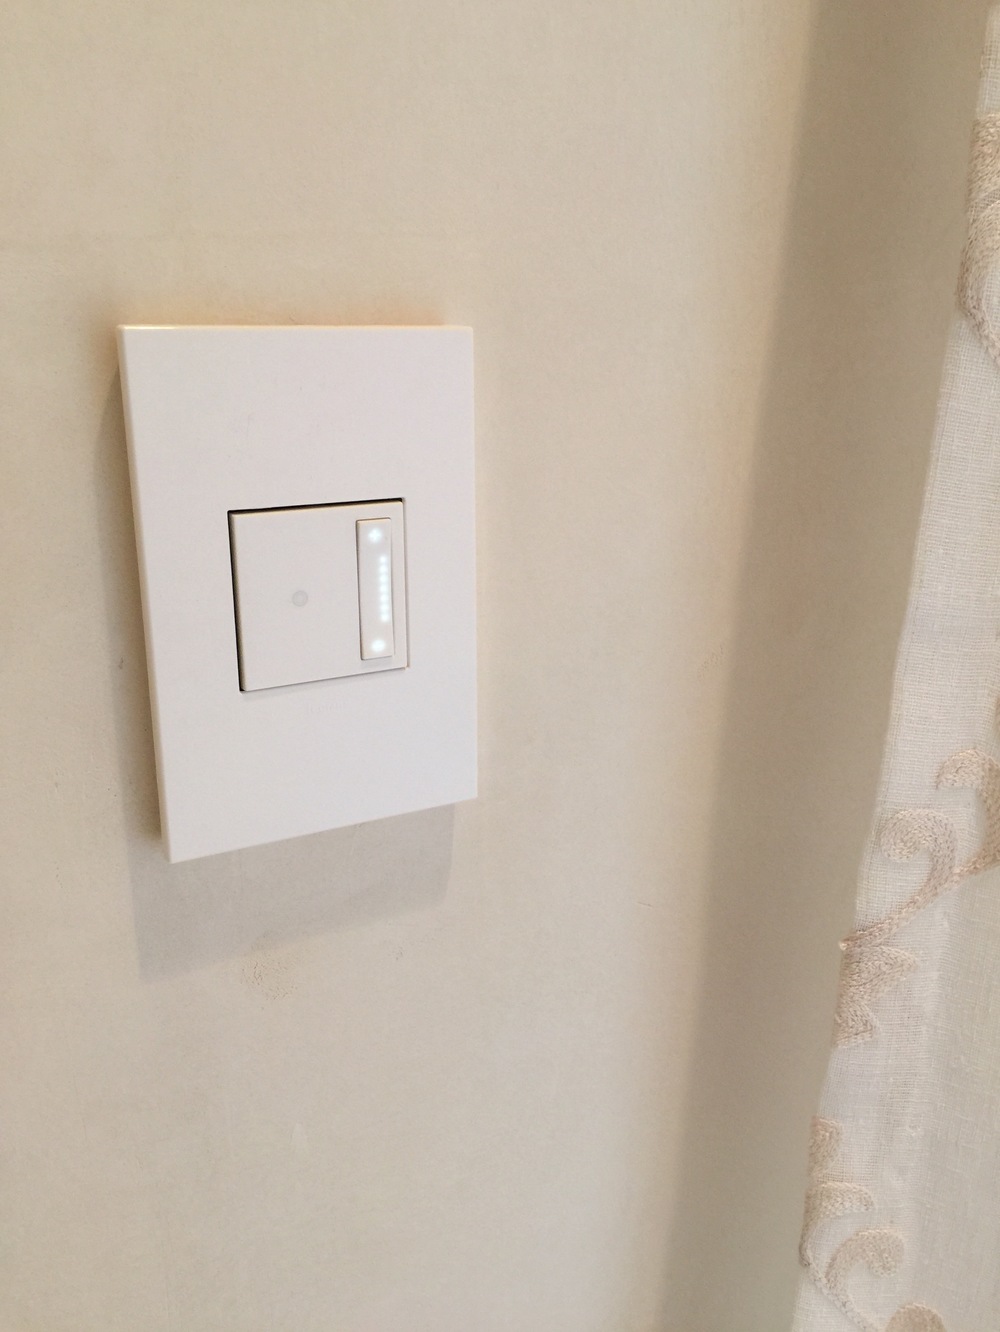
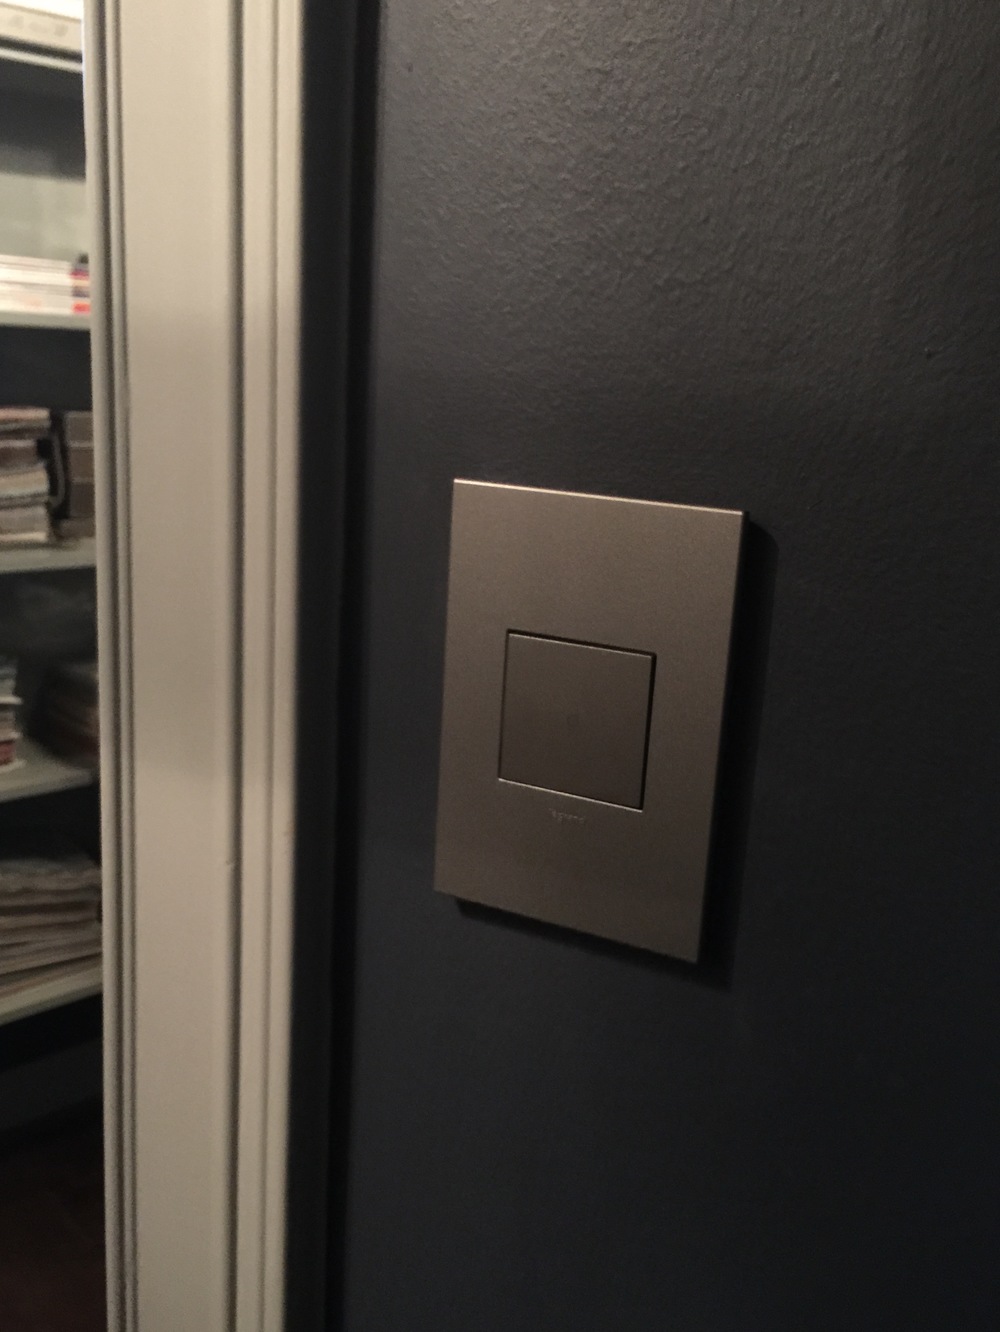
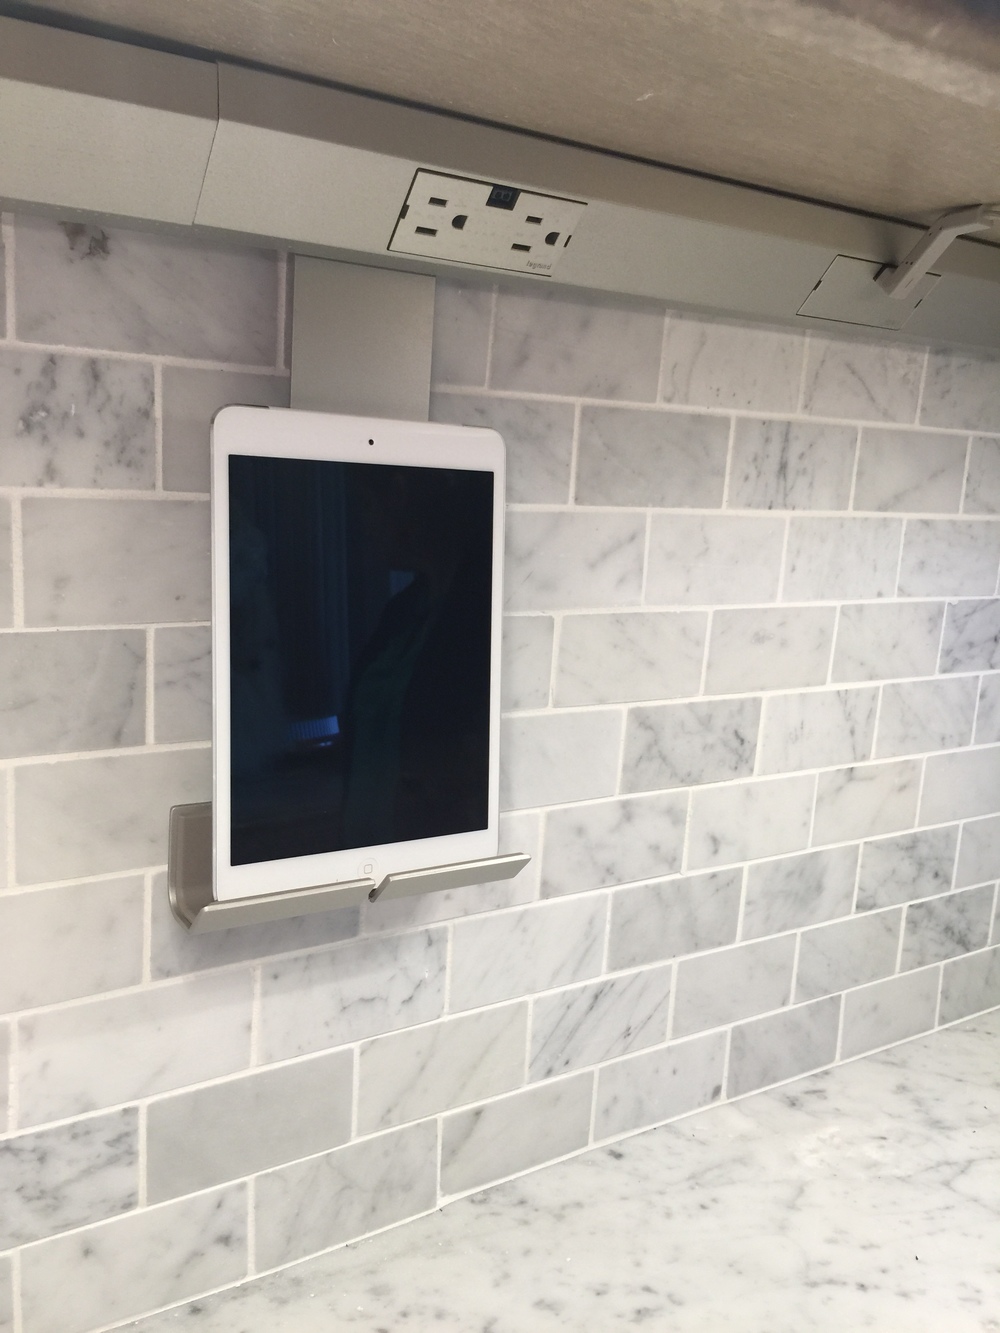
The switches and outlets for the room were from Legrand. My wallpaper installer covered them beautifully, and we used the magnesium finish in the closet. It looked sooooo much better than what was there before. Thanks to Amy Collier, our local rep, for providing those.
Here are the before and afters of the switches:

Before
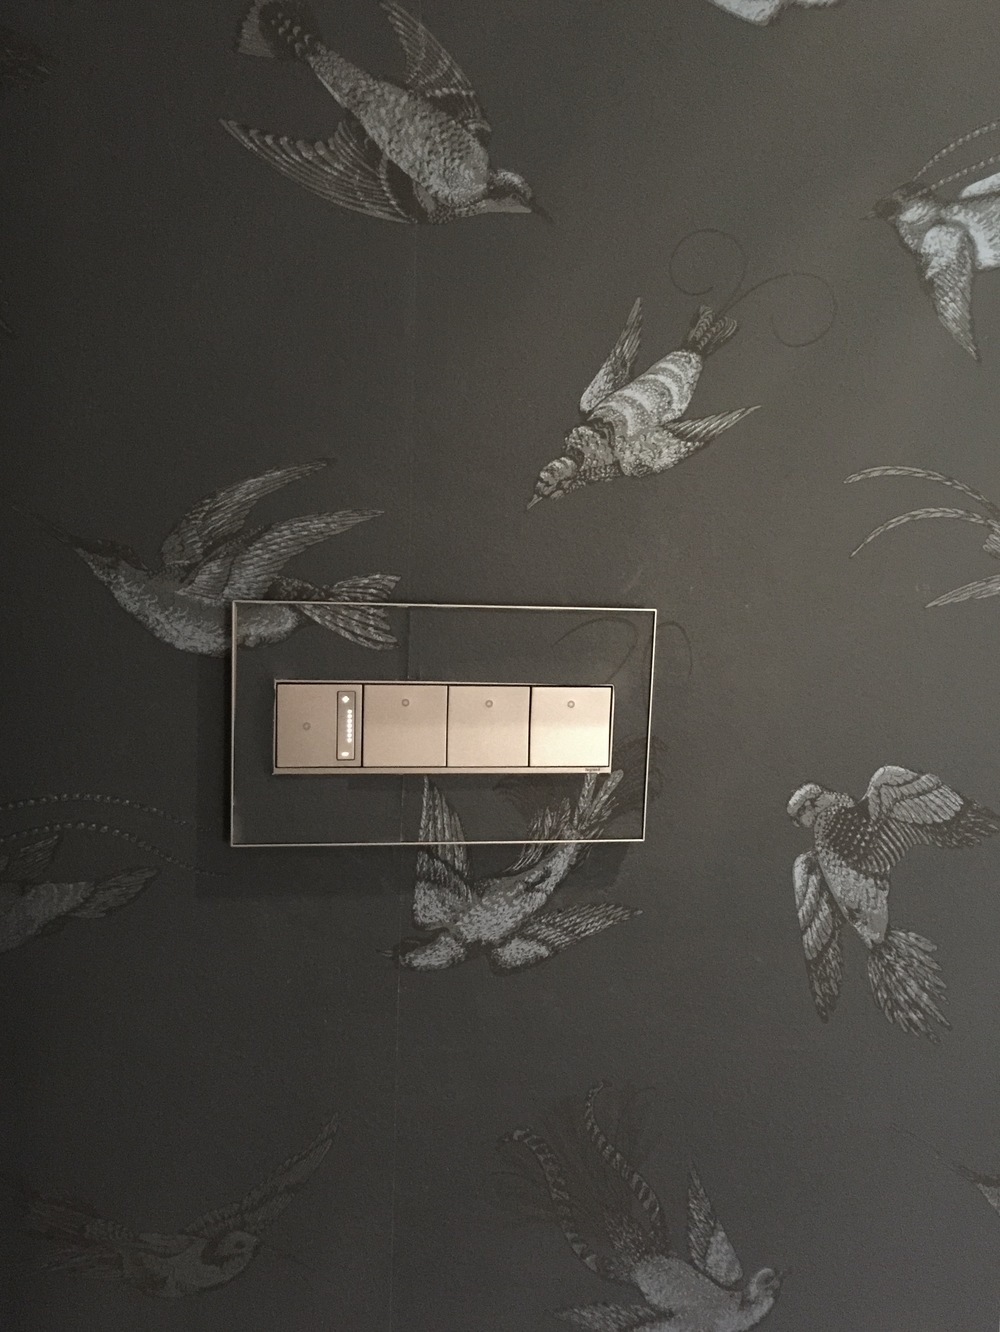
After
I collected those white ginger jars and vases during the past few months by grabbing one or two on a whim while out accessory shopping for clients. They work beautifully in the tall, open shelving above the cabinets. I thought about a blue and white chinoiserie pattern for those, but it would have resulted in busy, feminine overkill here (if you ask me), and I wanted the wallpaper to stand out more. I love the glossy, curvy shape of these; it was just enough to fill the void, and add some brightness to the room.
However, the blue and whites were perfect on the countertop of the room. In this particular spot, some pattern and a little dressiness were in order.
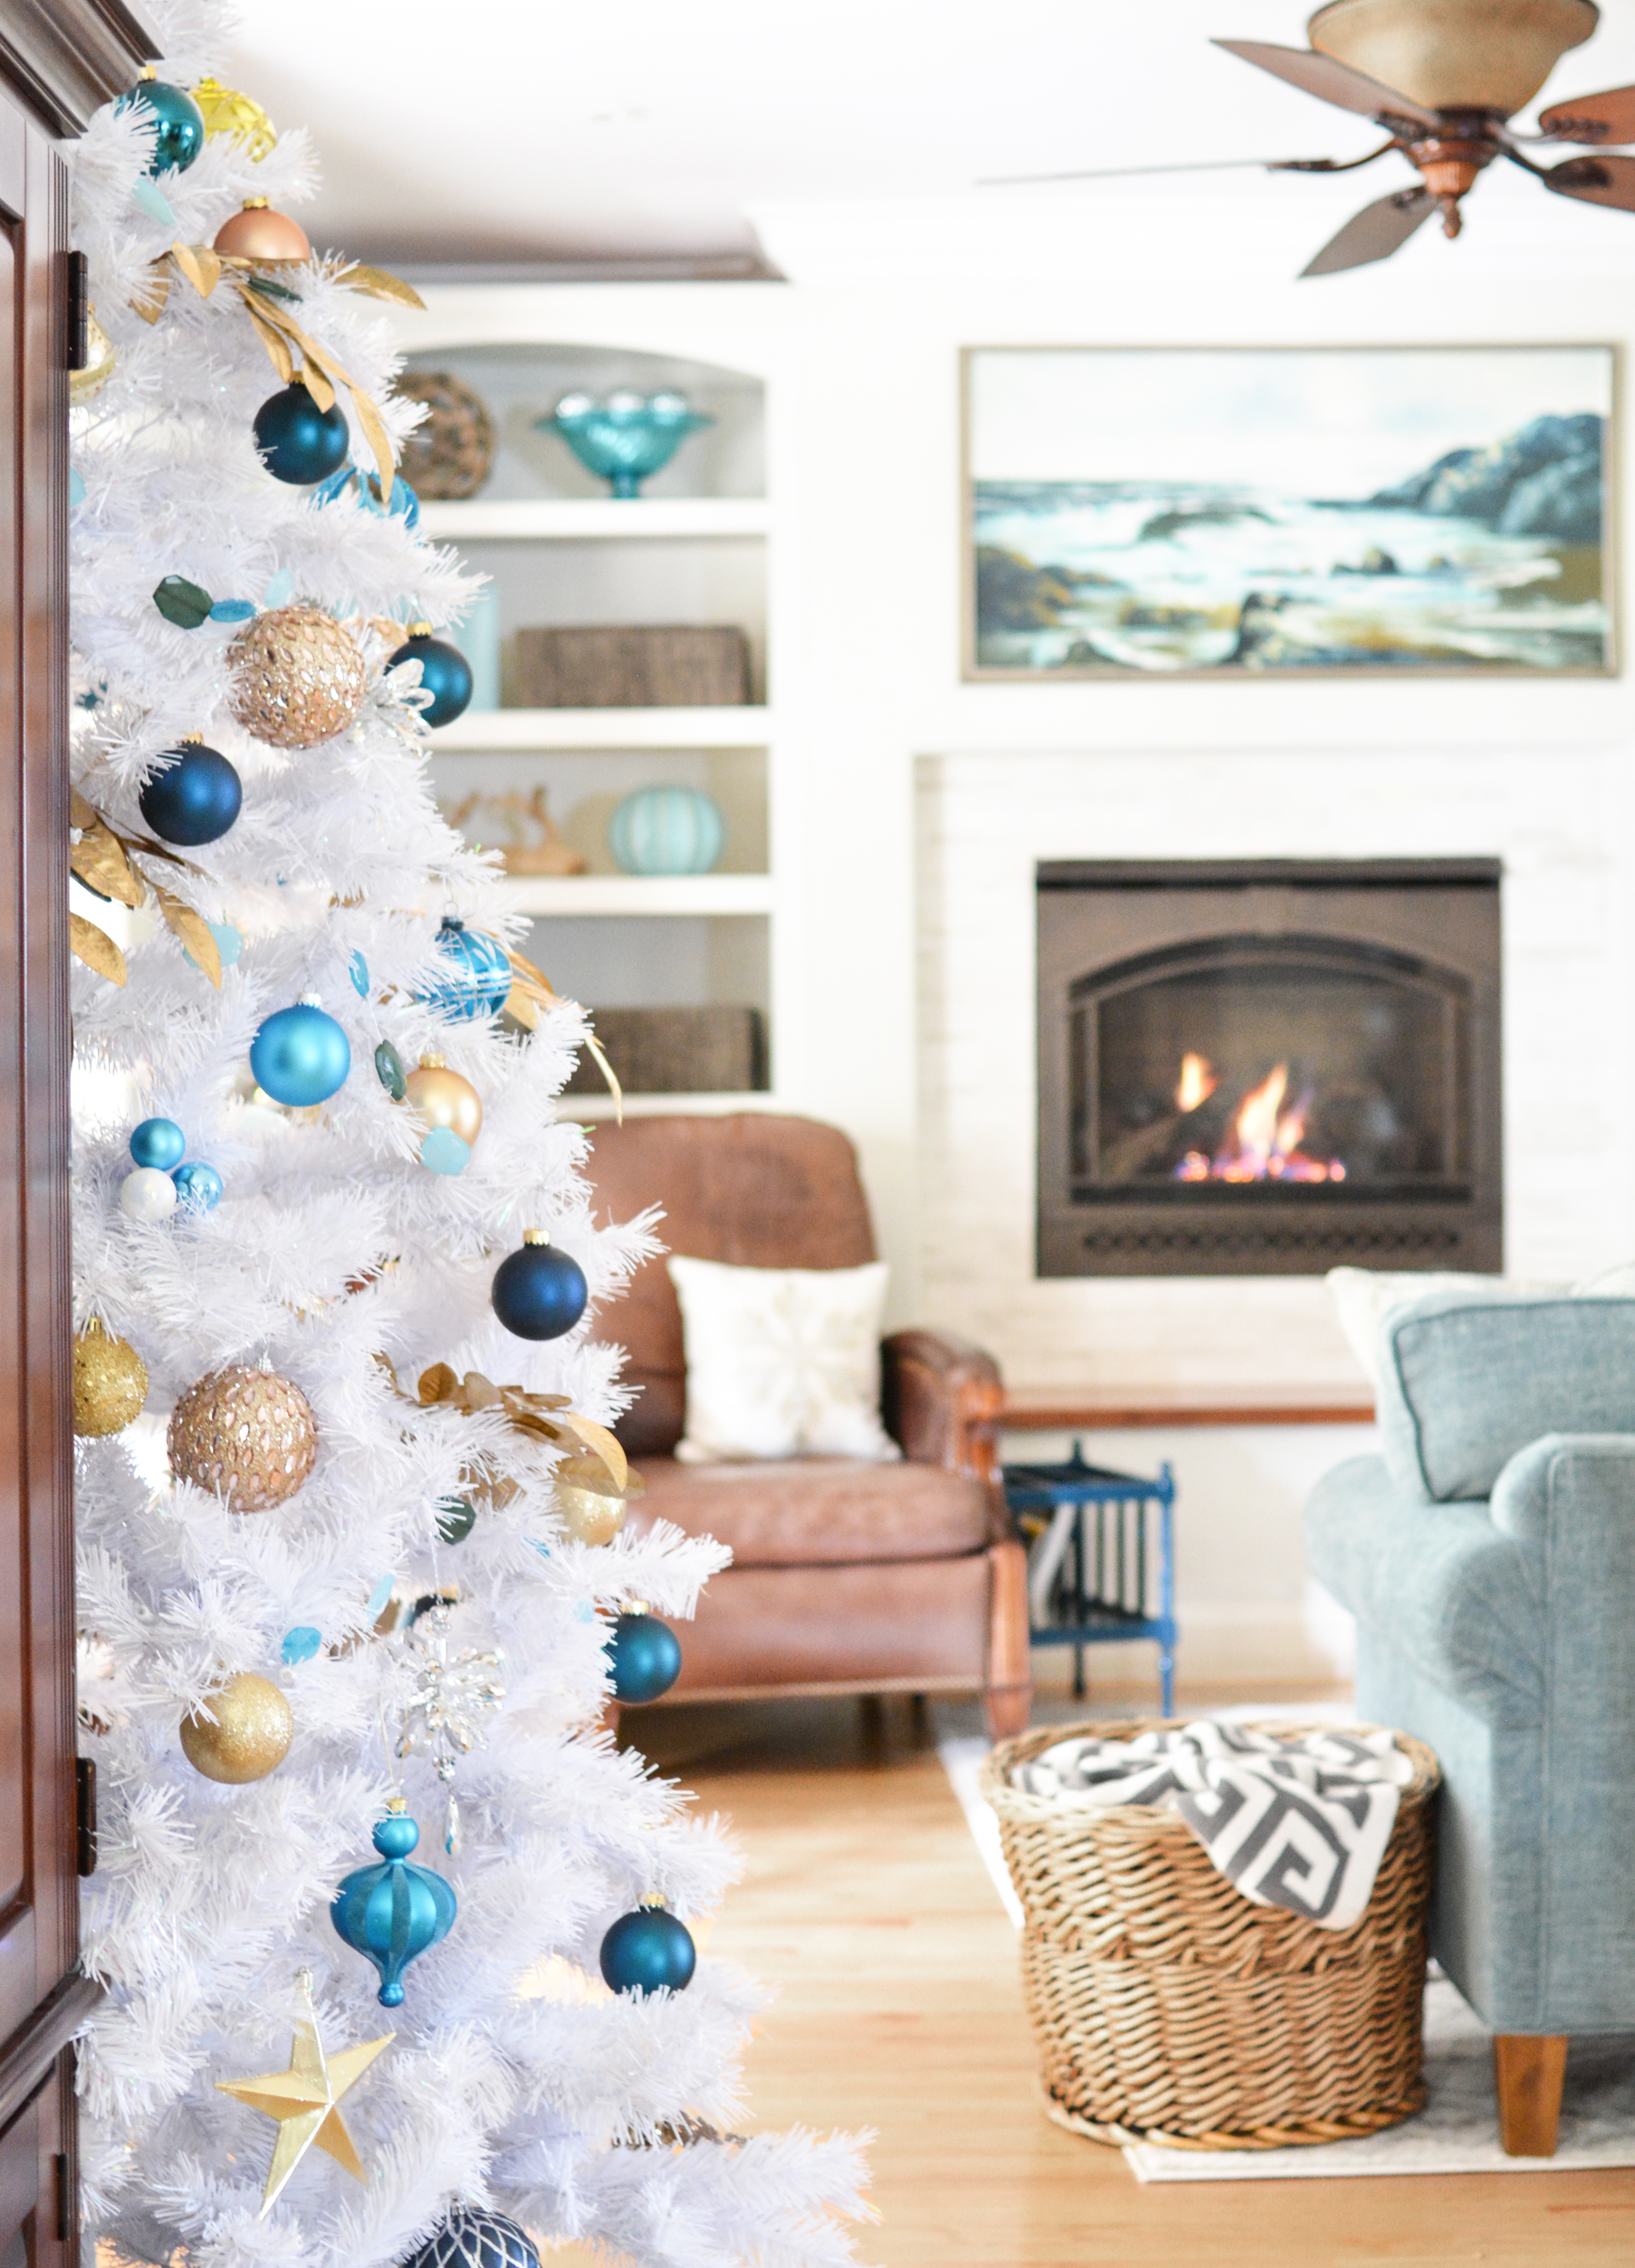
I used one large jar I had left over from my Christmas tree stand; it was absolutely perfect for keeping my little tree up off the carpet and relating to the rest of the room. We kept it watered throughout the show and found it to be the perfect container. I’m gonna keep that tree trimming trick in my back pocket in the years to come.
Thanks so much to all of you who came out to visit with us. We loved hosting you in the tour of this lovely home. I really enjoyed doing this showhouse with such a fab group of local designers. There’s already another one in the works for Spring 2017! I’ll keep you posted.
In case you missed some of my links up there…
I have lots of luxury left from my Showhouse room that you can buy here on my website. Check out my Online Outlet Store for pricing on some of the beautiful items in my room that are still available.
Photo Credit: All “after” images were taken by Miro Dvorscak.
AFTERS
A Woman's Retreat!
INTERIOR DESIGNER: Carla Aston |
PHOTOGRAPHER: Miro Dvorscak


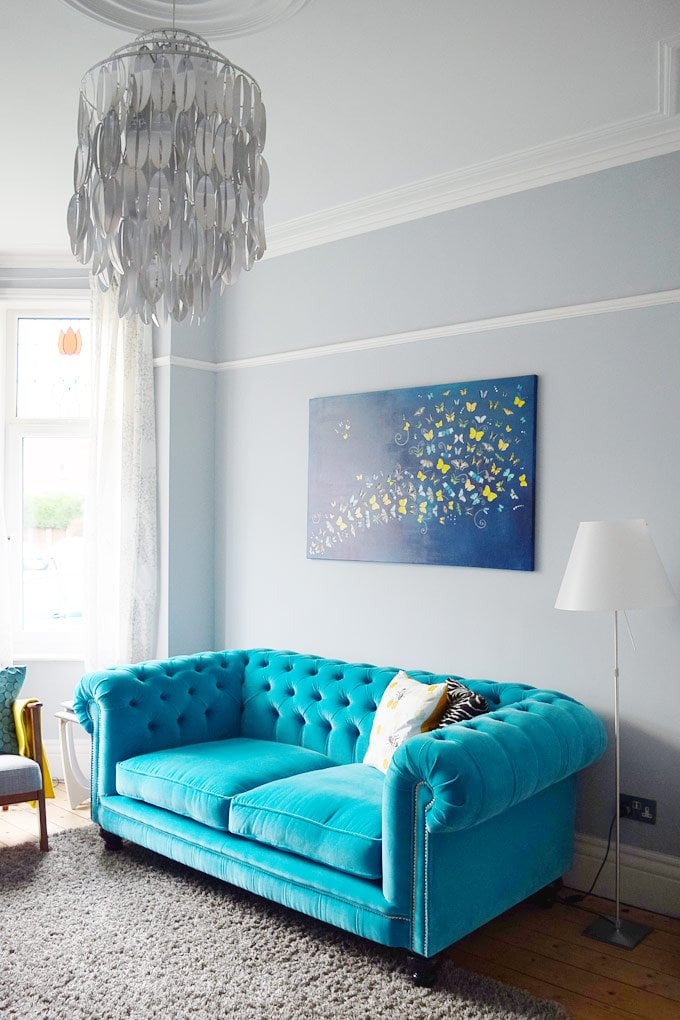 We’re so excited about our newest home update and if you follow us on Facebook or Instagram (you of course should be!) It’s been a long time coming and we’re thrilled to be sharing it with you – we have a new velvet Chesterfield sofa! Isn’t it gorgeous?! It’s so comfortable and we love that...


 Over the course of the last year, we’ve been lucky enough to have partnered with Kärcher to review some of their fab products. All of the Kärcher products we’ve received so far have been amazing and unlike a lot of gadgets that get bought and disappear into the cupboard after a few uses never to...