I was impressed last year to have learned so much about Thermador while at KBIS.
The induction cooktop, the 30” 5-burner Pro Harmony Range, and the star burners were all new to me then; and I was truly sold on Thermador as a provider of appliances for people who enjoy cooking for entertaining, fun, and healthy lifestyles.
I think what impressed me most this year at KBIS was the far reaching idea of flexibility and customization that can be done, as Thermador reaches their 100 year anniversary.
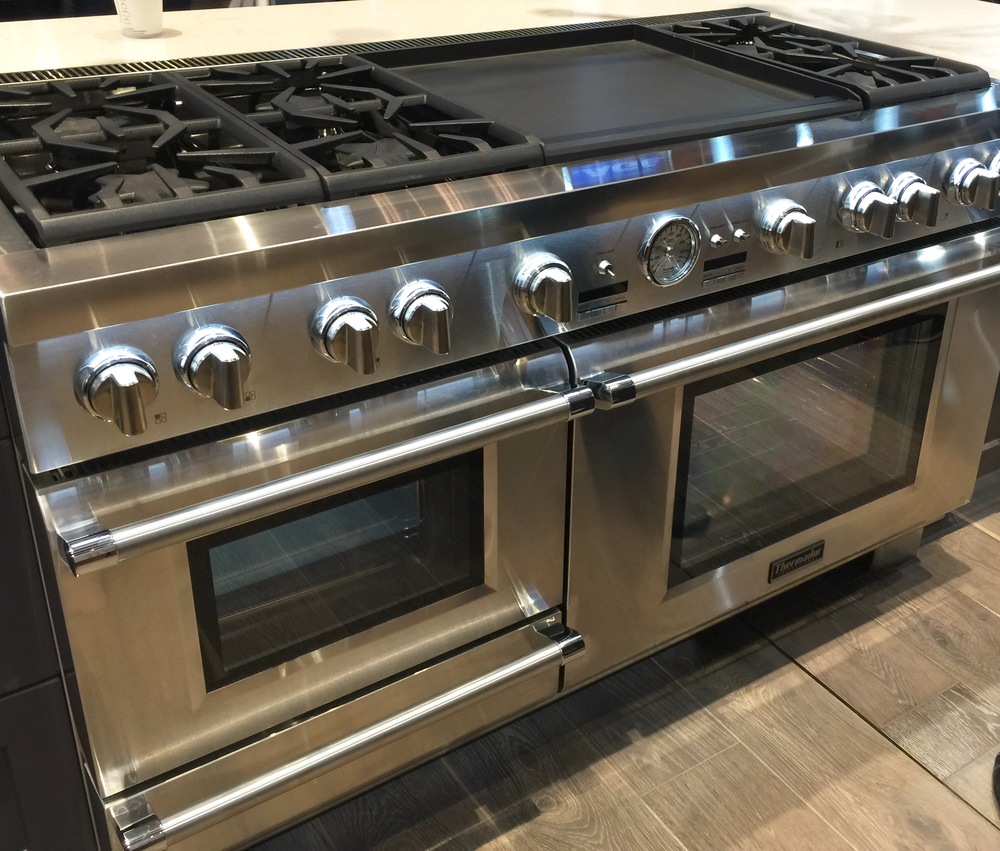
Following along the lines of their Freedom Collection — individual towers of refrigeration and freezer units that can be selected and combined to serve the function and needs of the household — Thermador has worked even more with this idea to provide customized cooking units, like the 60” Grand Pro Range.

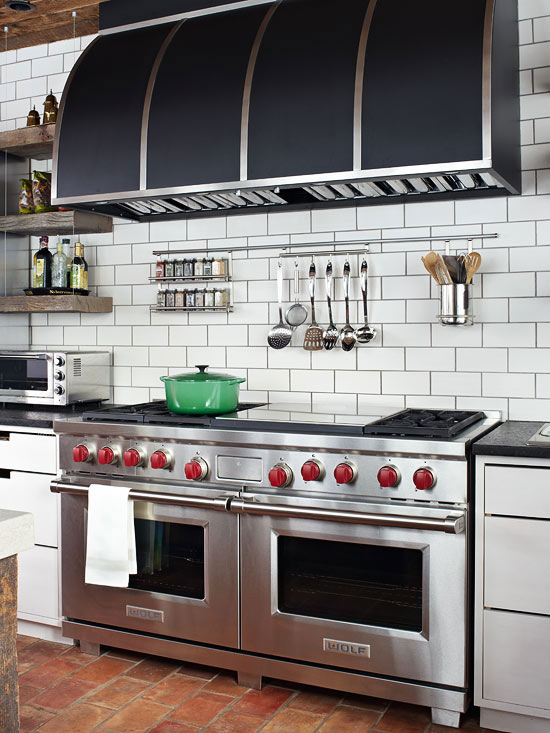
Don’t you love the light just under the cooktop to illuminate the knobs?
Not only are there six patented Thermador Star® Burners, including four that offer the ExtraLow® simmering feature and a 22,000 BTUs Power Burner, but a cook can choose the options of a 12” Griddle alongside a Professional Grill OR a 24” Dual Zone Griddle, designed for even heating and easy cleaning, featuring a smooth, scratch-resistant surface.
And that’s just the surface!
Last year, cooking with steam was all the rage, and it continues to be a popular, healthy and efficient way to cook. In the 60” Grand Pro Range, a cook can select either a combination double oven OR a convection oven alongside a steam/convection oven and warming drawer, making this the only pro-style range with the option of steam cooking.
As a designer of many kitchen remodels, I have to say one problem we have is when homeowners want to upgrade to beautiful, hard-working appliances like these, but they still have to work in the same footprint of space. So, even if we’re redoing cabinets to allow for larger appliances, there’s still the same amount of square footage in the kitchen. Space is always an issue, including the depth of the appliance.
I was so excited to see how Thermador has incorporated their venting technology with this range, much like they did with the 30” Pro Harmony Range I saw last year, so that the unit can slide flush up against the wall with zero clearance. Every inch of space matters in a kitchen, and this technology gets rid of that gap behind the range that every other range out there must maintain.
Take a look at it installed in the island here at their booth. Such a clean look, and we all know that every inch of space matters in a kitchen.

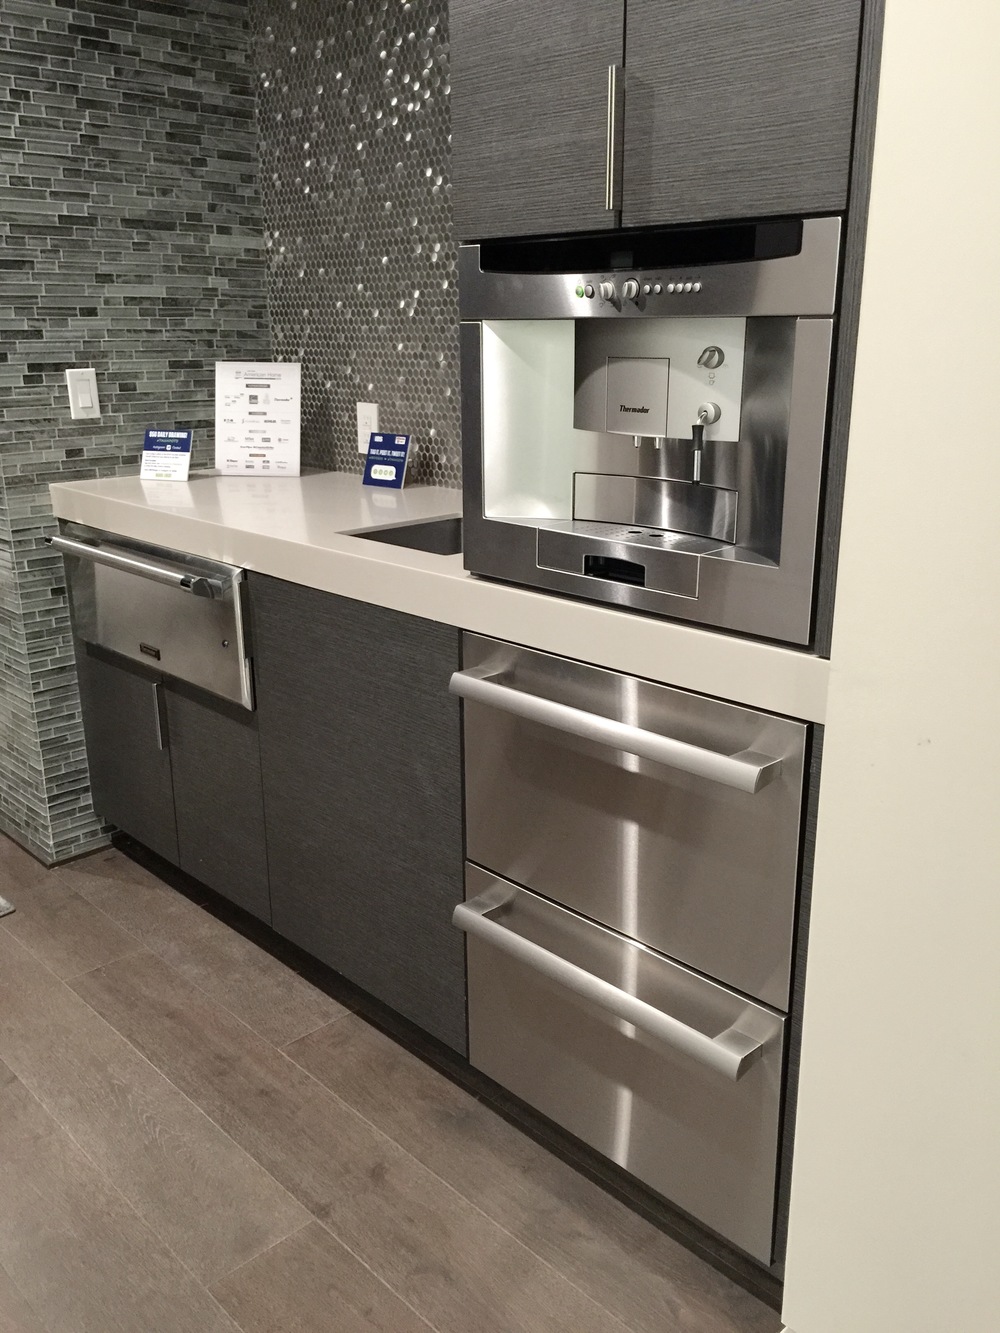
One more bit of customization I want to point out is with their undercounter refrigeration drawers. With just the press of a button you can select Refrigeration Mode to preserve fresh ingredients, Pantry Mode to store items like bread and flour at a warmer temperature, and Bar Mode to chill beverages at colder temperatures. Simple and customized for keeping what you want at exactly the temp that is best.
Here are two frig drawers used in the New American Home we visited the night before the show. You could have one unit for milk and juices and one for fruit or kale for your morning smoothies! Isn’t this a great coffee bar to wake up to in the morning?
And…
Thermador is sponsoring a contest in 2016 for designers. (That’s ME!) Enter a kitchen designed with their appliances (it doesn’t have to be the whole suite), and there’s opportunity to be published. And yes... There’s $$$$ involved. Goodness knows I need some money!
So let’s do this future clients! Anyone ready for an award-winning new kitchen??? :-))))
*
Thermador is a sponsor of
Modenus BlogTour's Kitchen and Bath Industry Show (KBIS). All opinions contained within this article are those of Carla Aston of
DESIGNED w/ Carla Aston and have not been influened by any of the aforementioned parties.


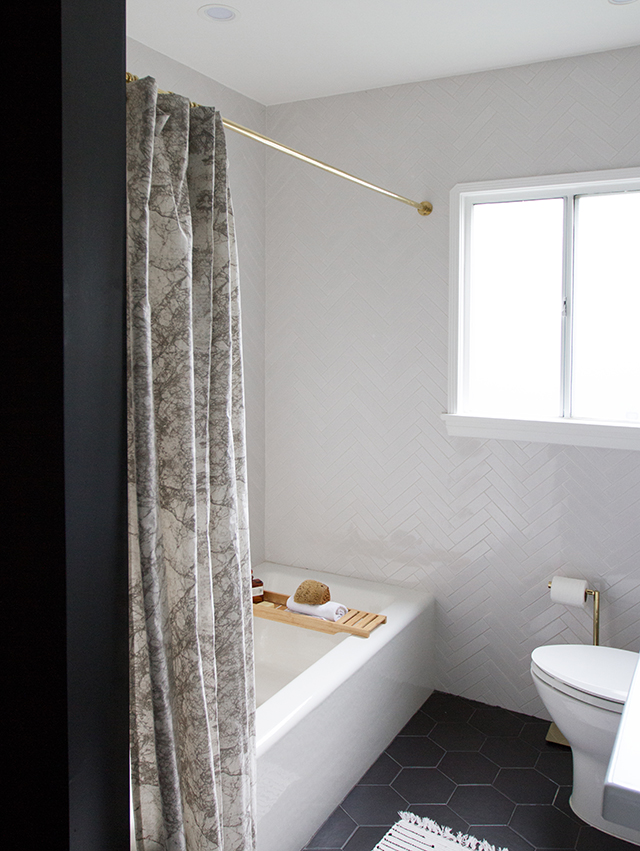


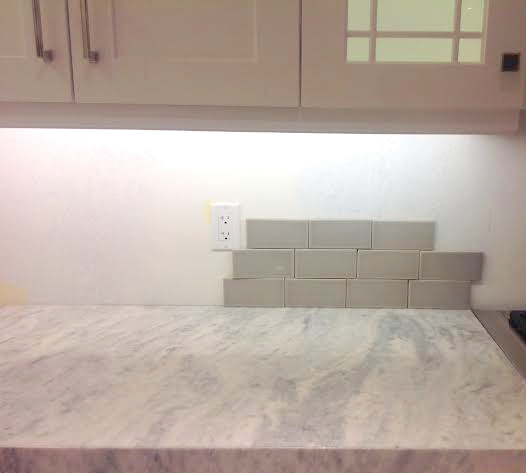


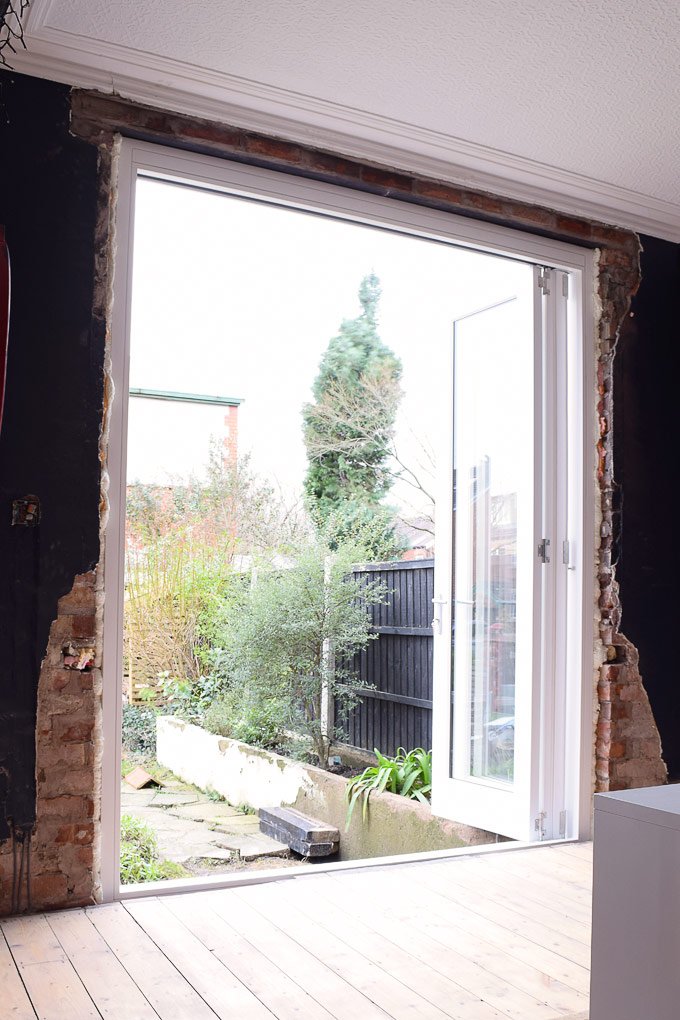 Yay, the first project on our list of projects for 2016 is already complete! If you follow us on Facebook you may already have an idea of what it is, as we couldn't resist sharing a behind the scenes shot of it in progress. Can you guess what it is? Here’s a hint. Until recently,...


