Sabado, Agosto 29, 2015

Mixing Old and New for the Perfect Vintage Look

I love going to visit my grandma. In her living room, she uses an old trunk as her coffee table. This isn’t just any old trunk though. This is the trunk her family used when moving to the United States through Ellis Island.

On top, it’s rather unsuspecting. She has your regular coffee table affair of coasters, magazines, and conversation starters.

But, get her to clear away the modern day decorations and inside you’ll find a rich history. There are pictures, pregnancy journals from when she had her kids over 65 years ago, and old handkerchiefs that were (thankfully) never used for anything more than decoration.

I’ve always admired her style, so much so that it got me thinking about how to mix my decor for a perfect vintage look in the living room of my new home.

Start With the Treasure Chest 

What type of treasures and old family heirlooms do you have?

Old jewelry, artwork, or maybe a few handkerchiefs of your own (they used to be quite popular) can easily be turned into stunning decor. Frame them. Set them on your mantles. Or hang them from the walls. It’s an effortless way to add some old style and personality to your living room. Take a look at these great DIY ideas for your family heirlooms.

An added bonus: These types of decor pieces are perfect conversation starters too!

Go Ahead and Mimic Your Favorite Vintage Styles 

My husband always loves looking at the globes in his grandpa house. There are so many! Some are big, some are faded, some are not accurate, but all are filled with personality.

His grandpa isn’t ready to give those globes up, but we wanted to replicate the same type of decor in our home. So, on our shelf is a globe bought from Home Goods. It’s sitting next to my favorite book of all time, The Velveteen Rabbit. This combination looks chic but it’s also filled with story.

Shabby Chic and Vintage Decor

You can do the same in your living room. Buy old pieces you love from decorating stores. Even if they’re not the exact pieces your family owned, they’re still able to trigger old memories. Mix modern furniture pieces, such as a couch, with vintage accents, like a thrifted armchair.

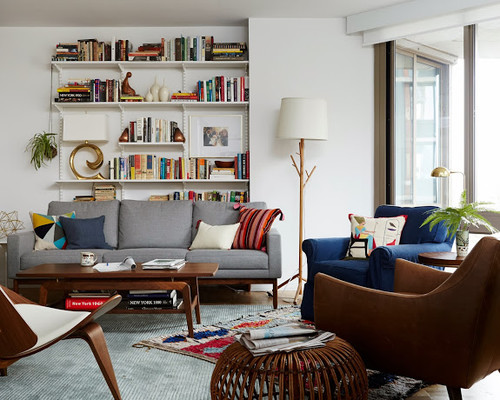
Eclectic Living Room by Portland Window Treatments Decorview with Emily Henderson
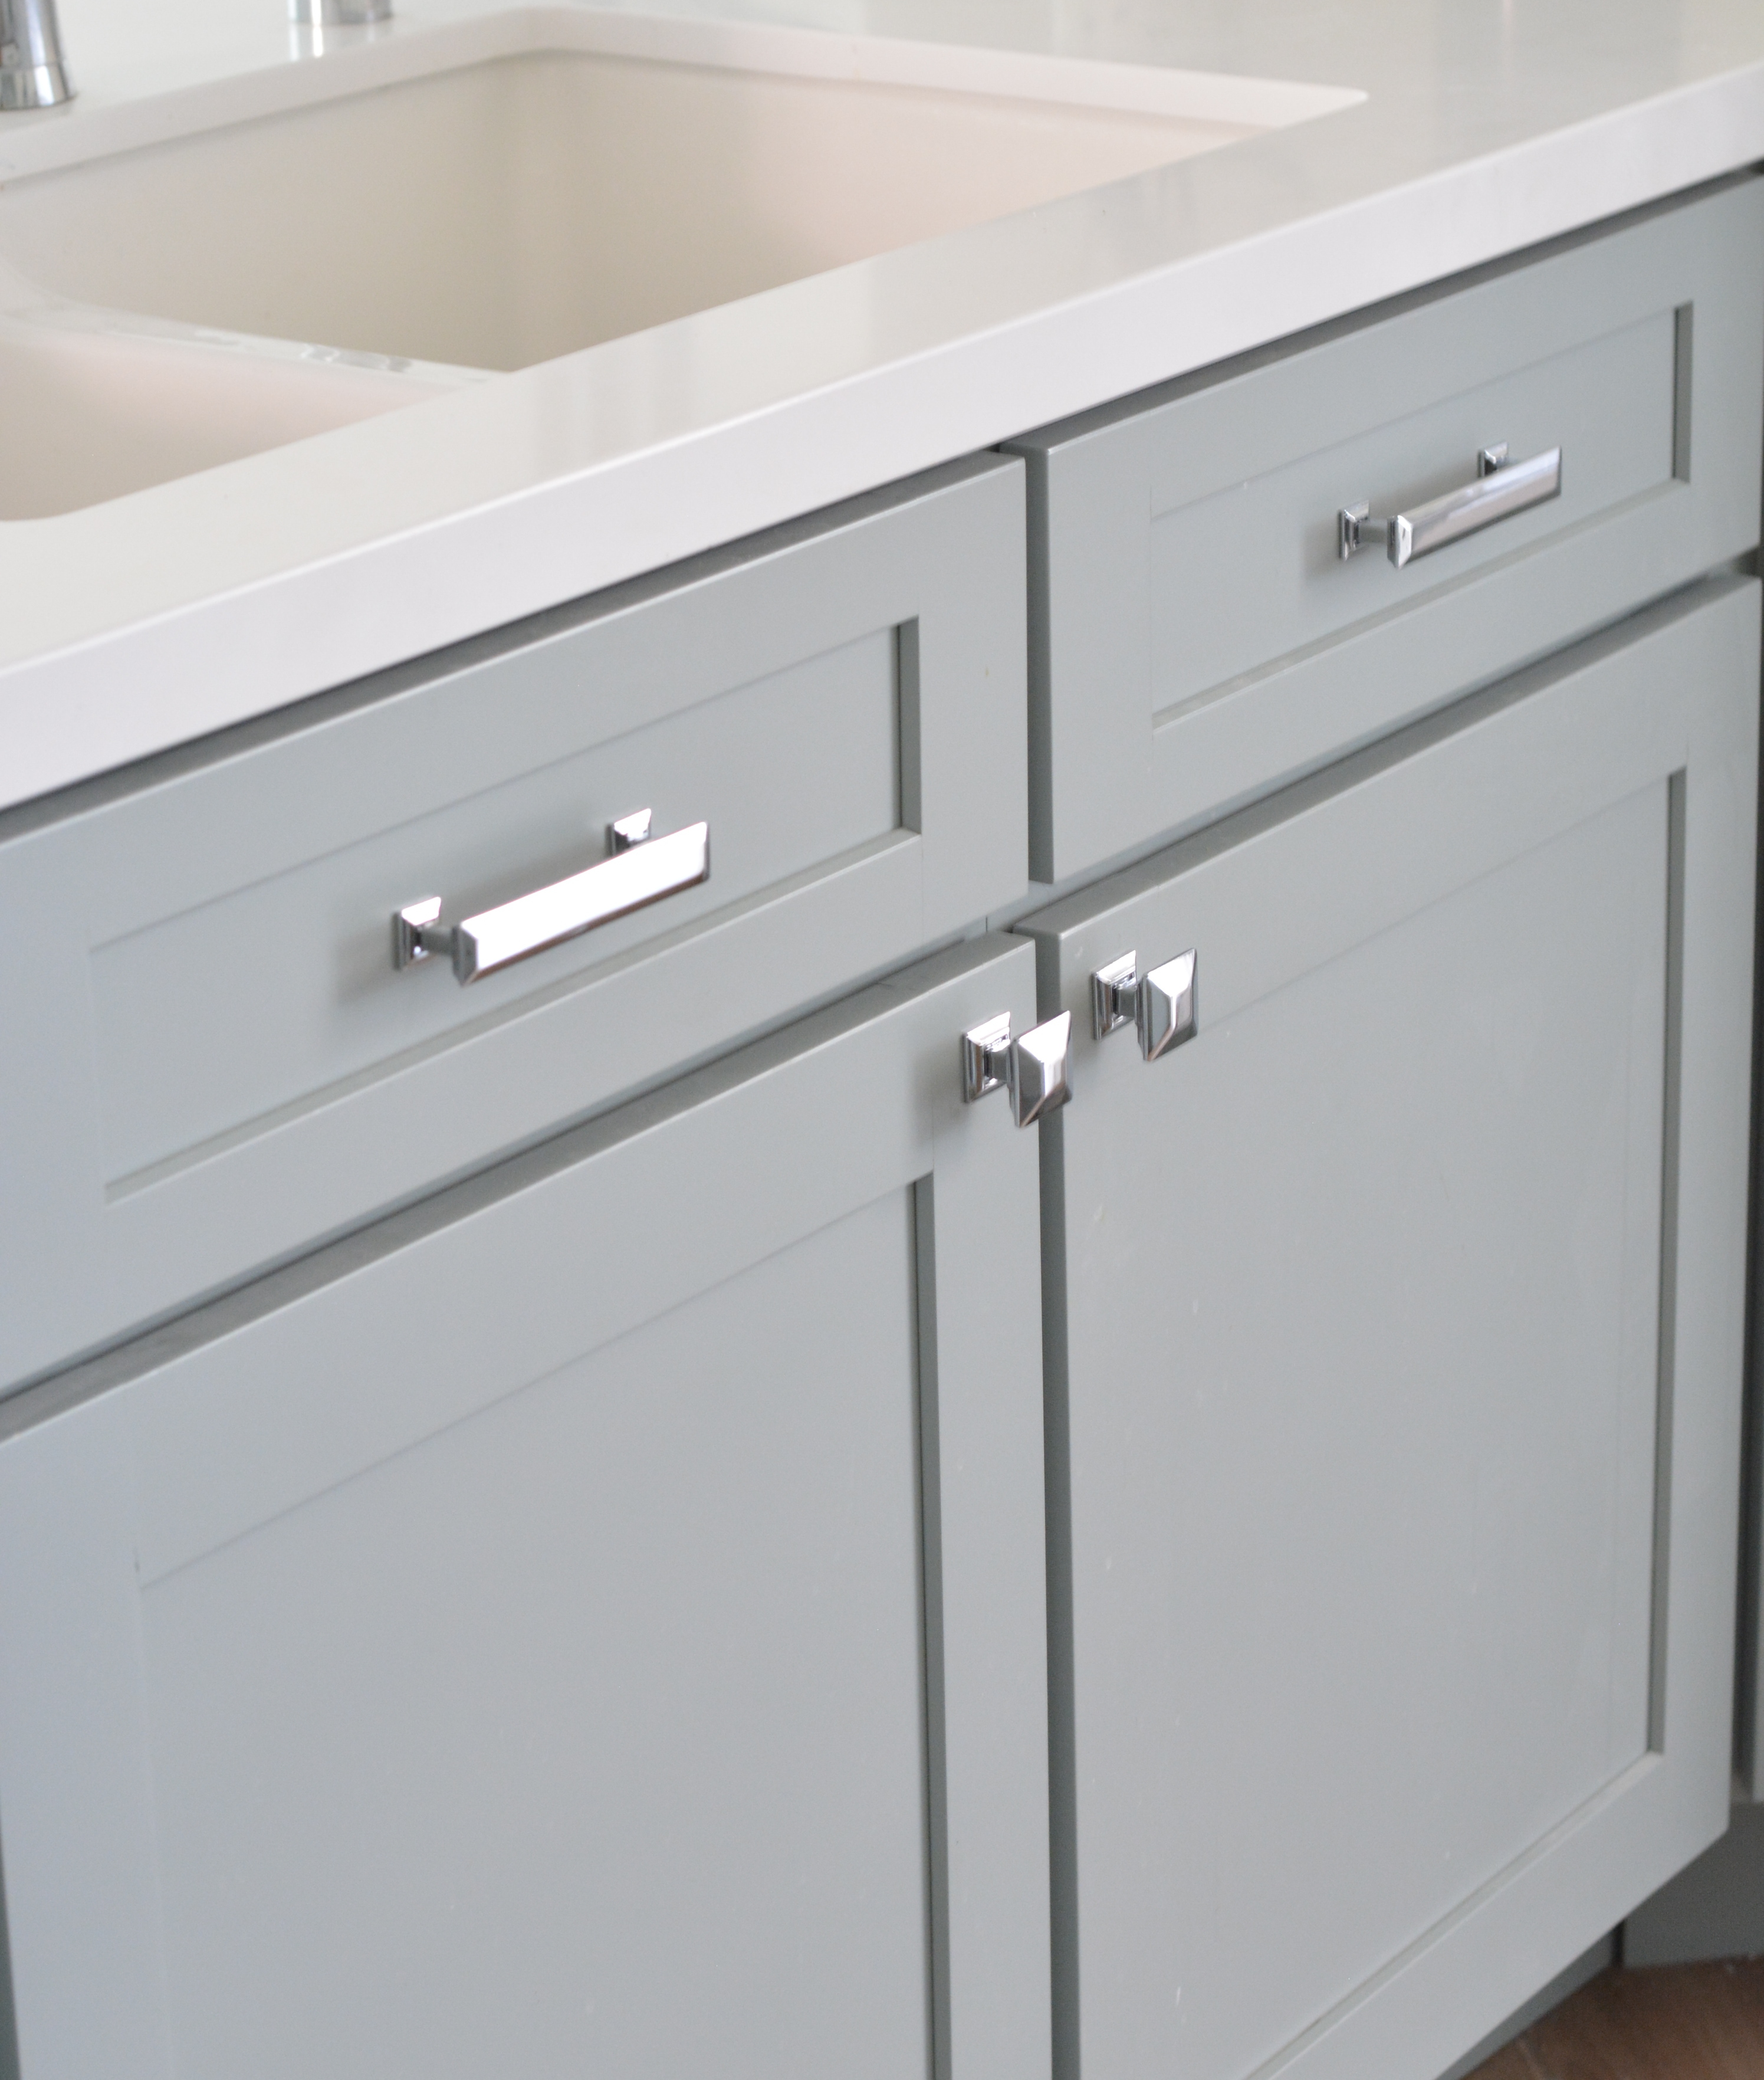
Match Your Floors 

Shabby chic floors are a hot trend right now in the decorating world and for good reason. These floors are designed to look a little weathered and worn. People love them in living rooms because the weathered look gives them a cozy, comfortable appeal.

Updating your floors can have a huge impact on your decor. Choose from a variety of colors to find the perfect one to match the style that best reminds you of a home you used to love visiting.

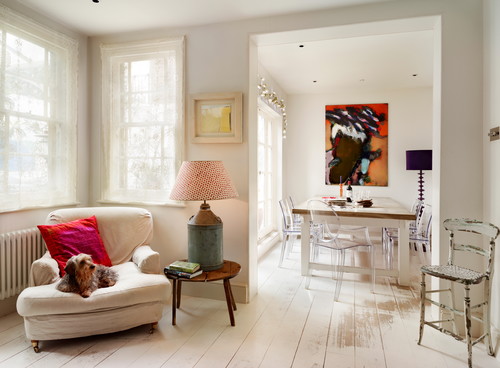
London Interior Designers & Decorators ZazuDesigns

Get more vintage inspiration:

The post Mixing Old and New for the Perfect Vintage Look appeared first on Passion for Home - Bestlaminate Blog.

Finding Inspiration*

Kitchen Inspiration Homify
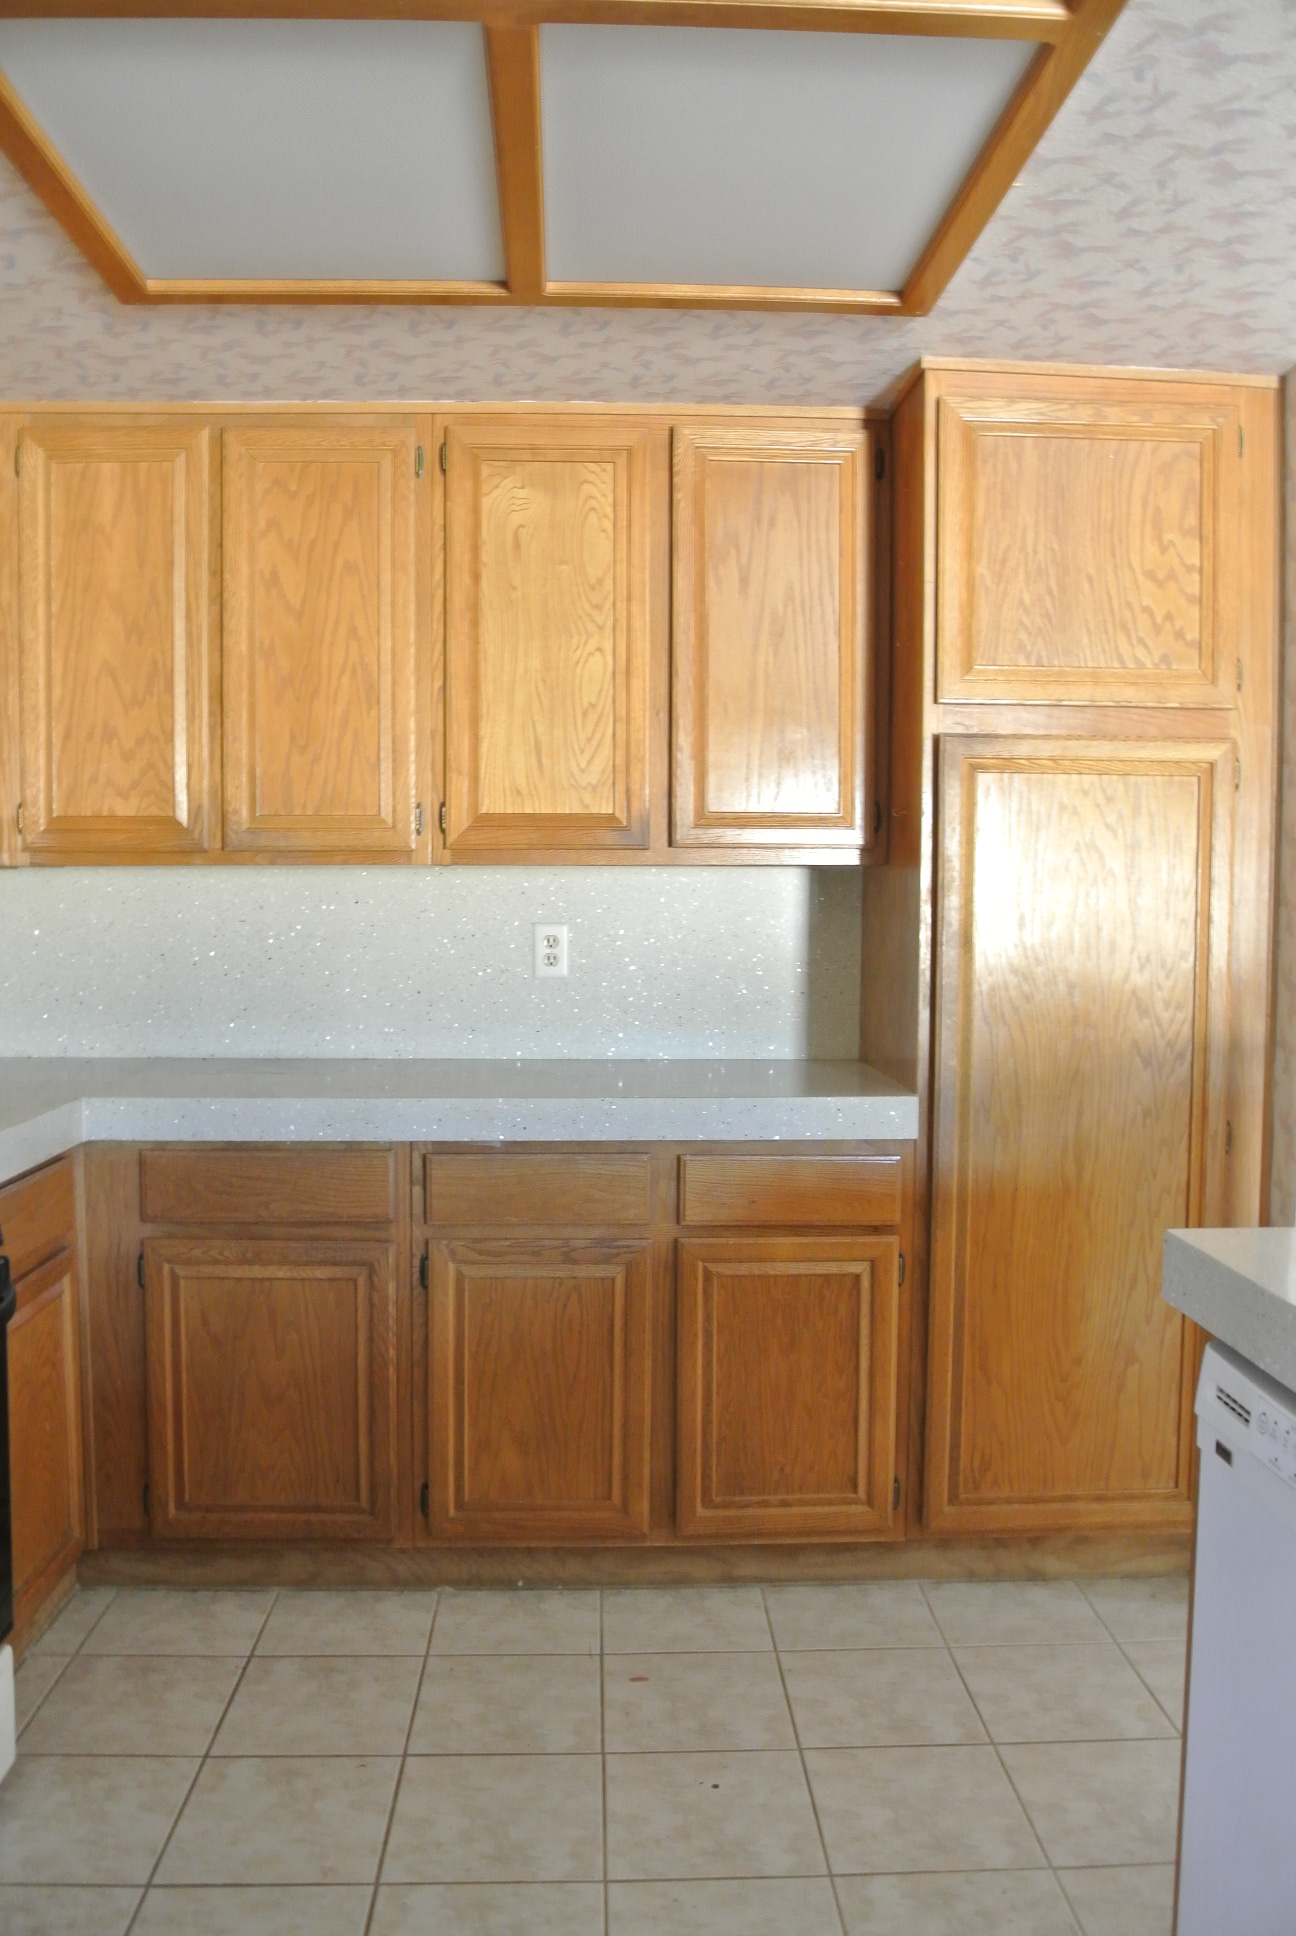
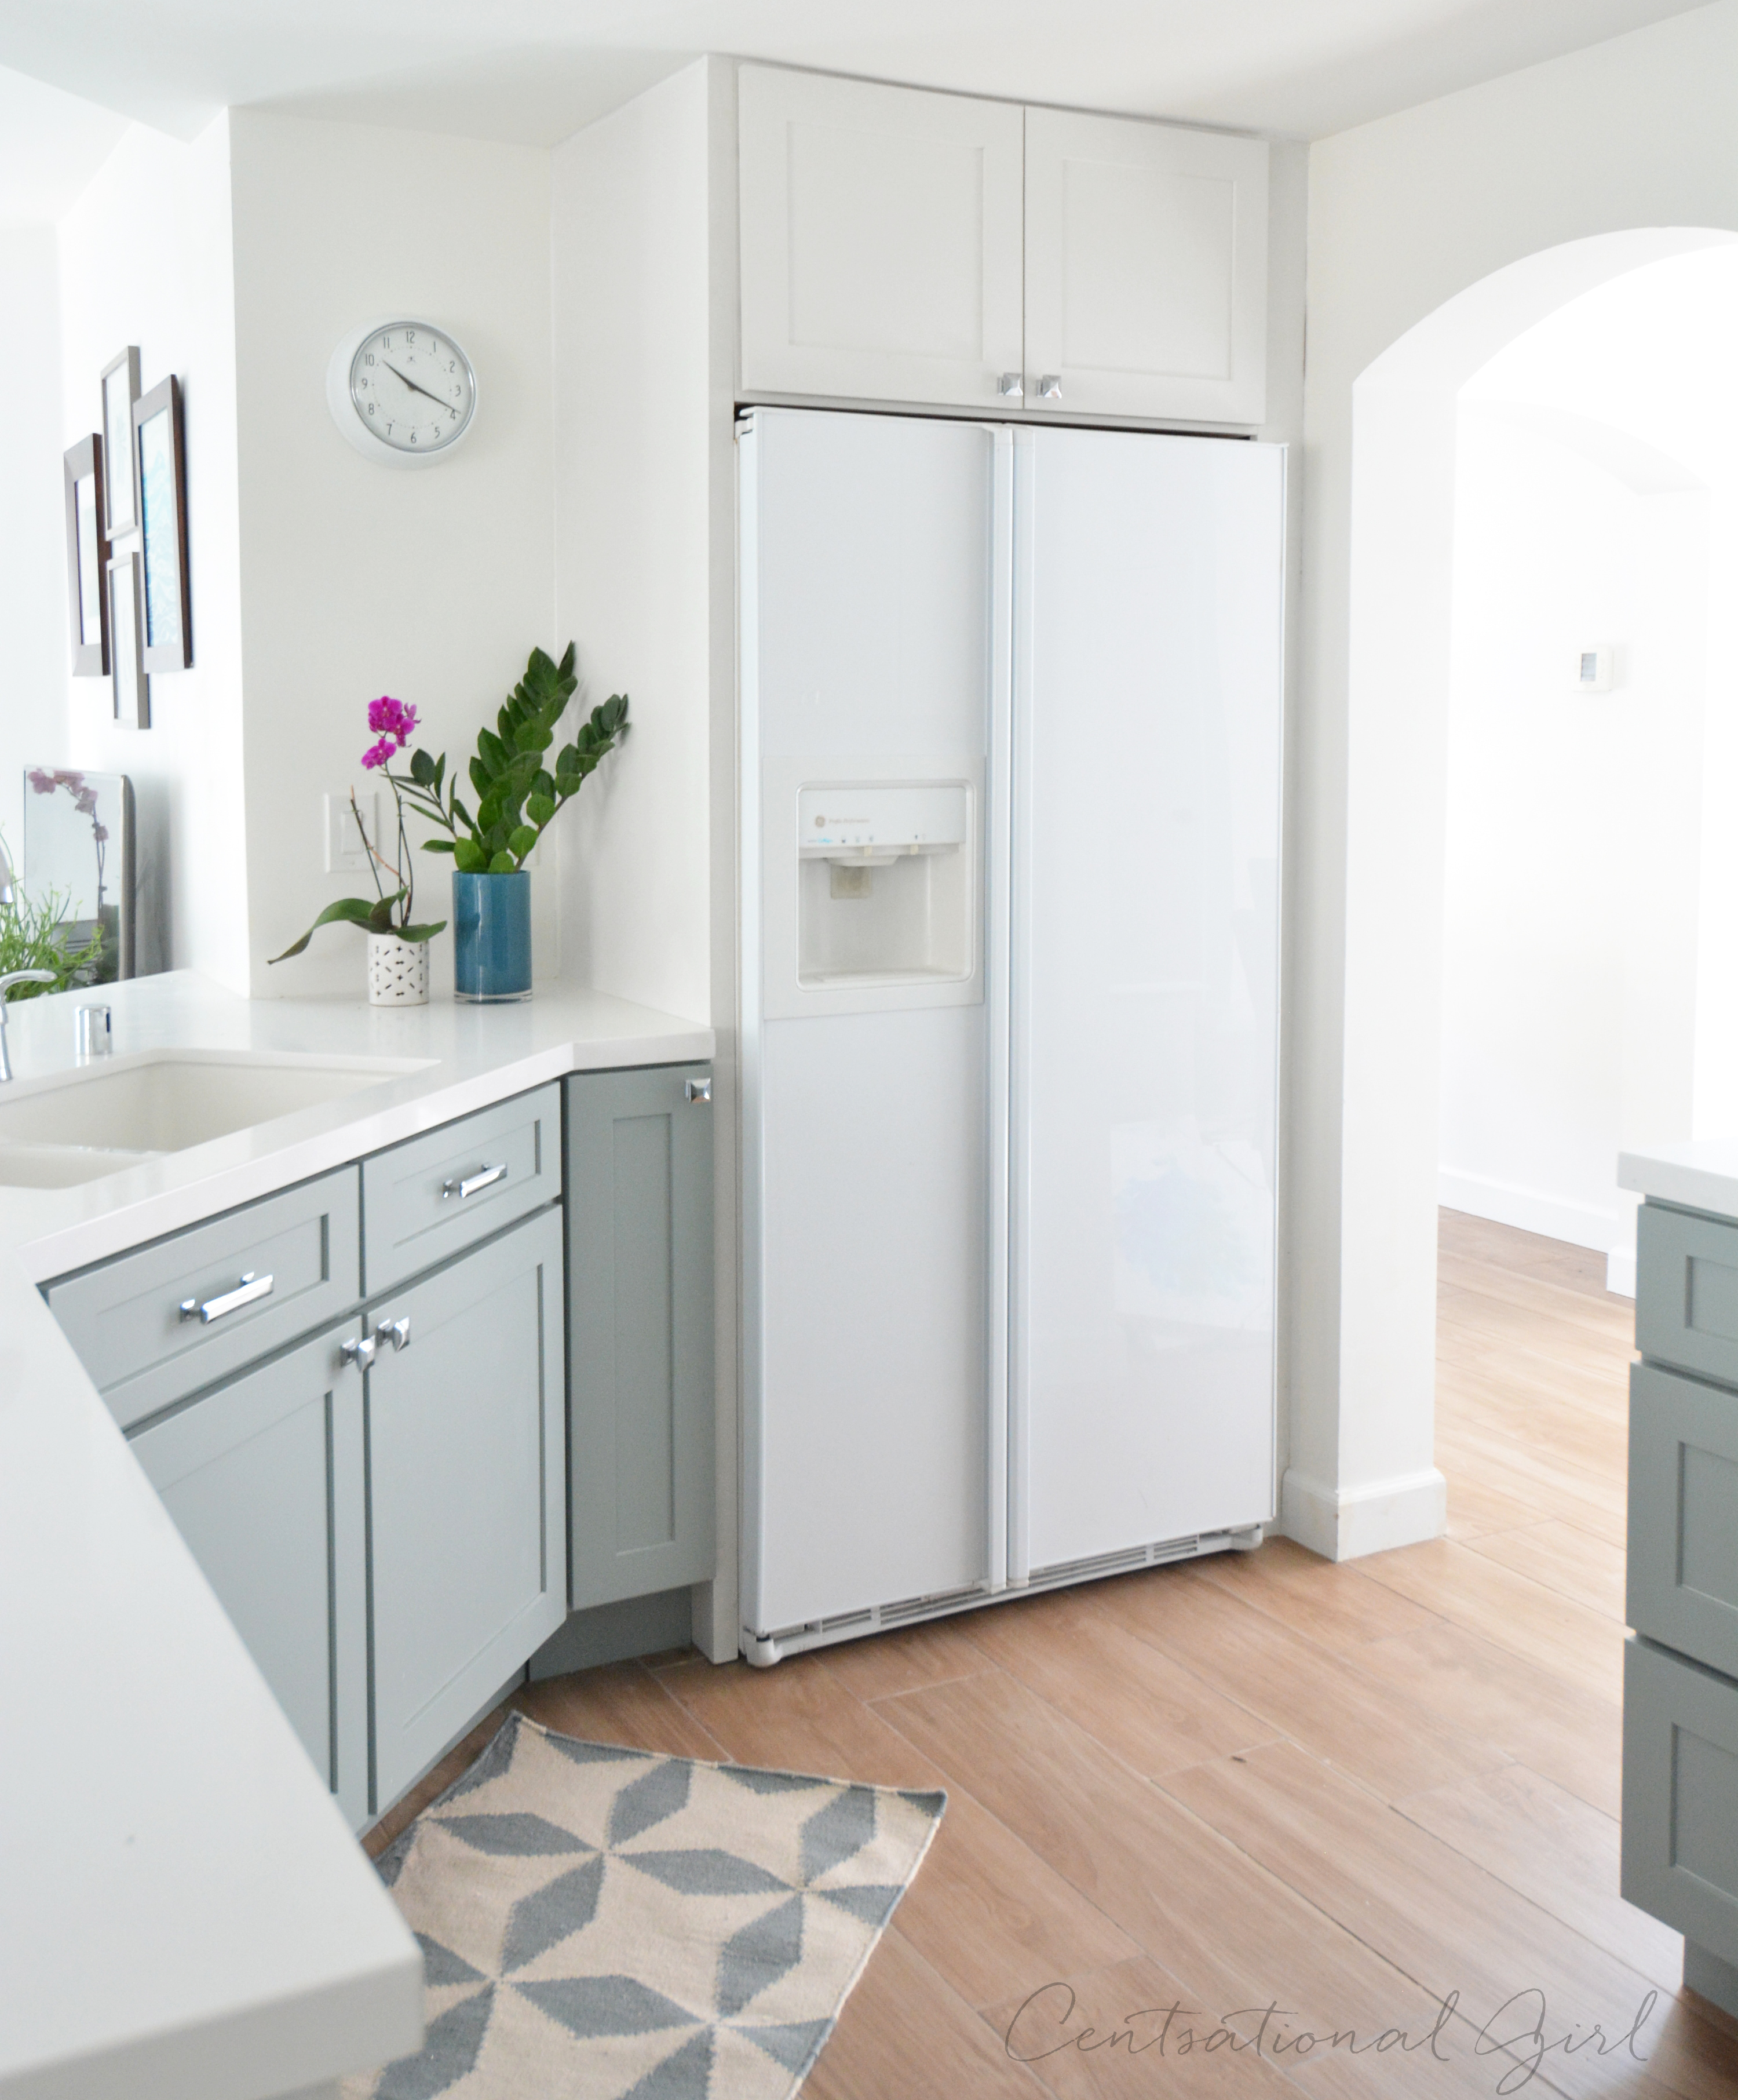
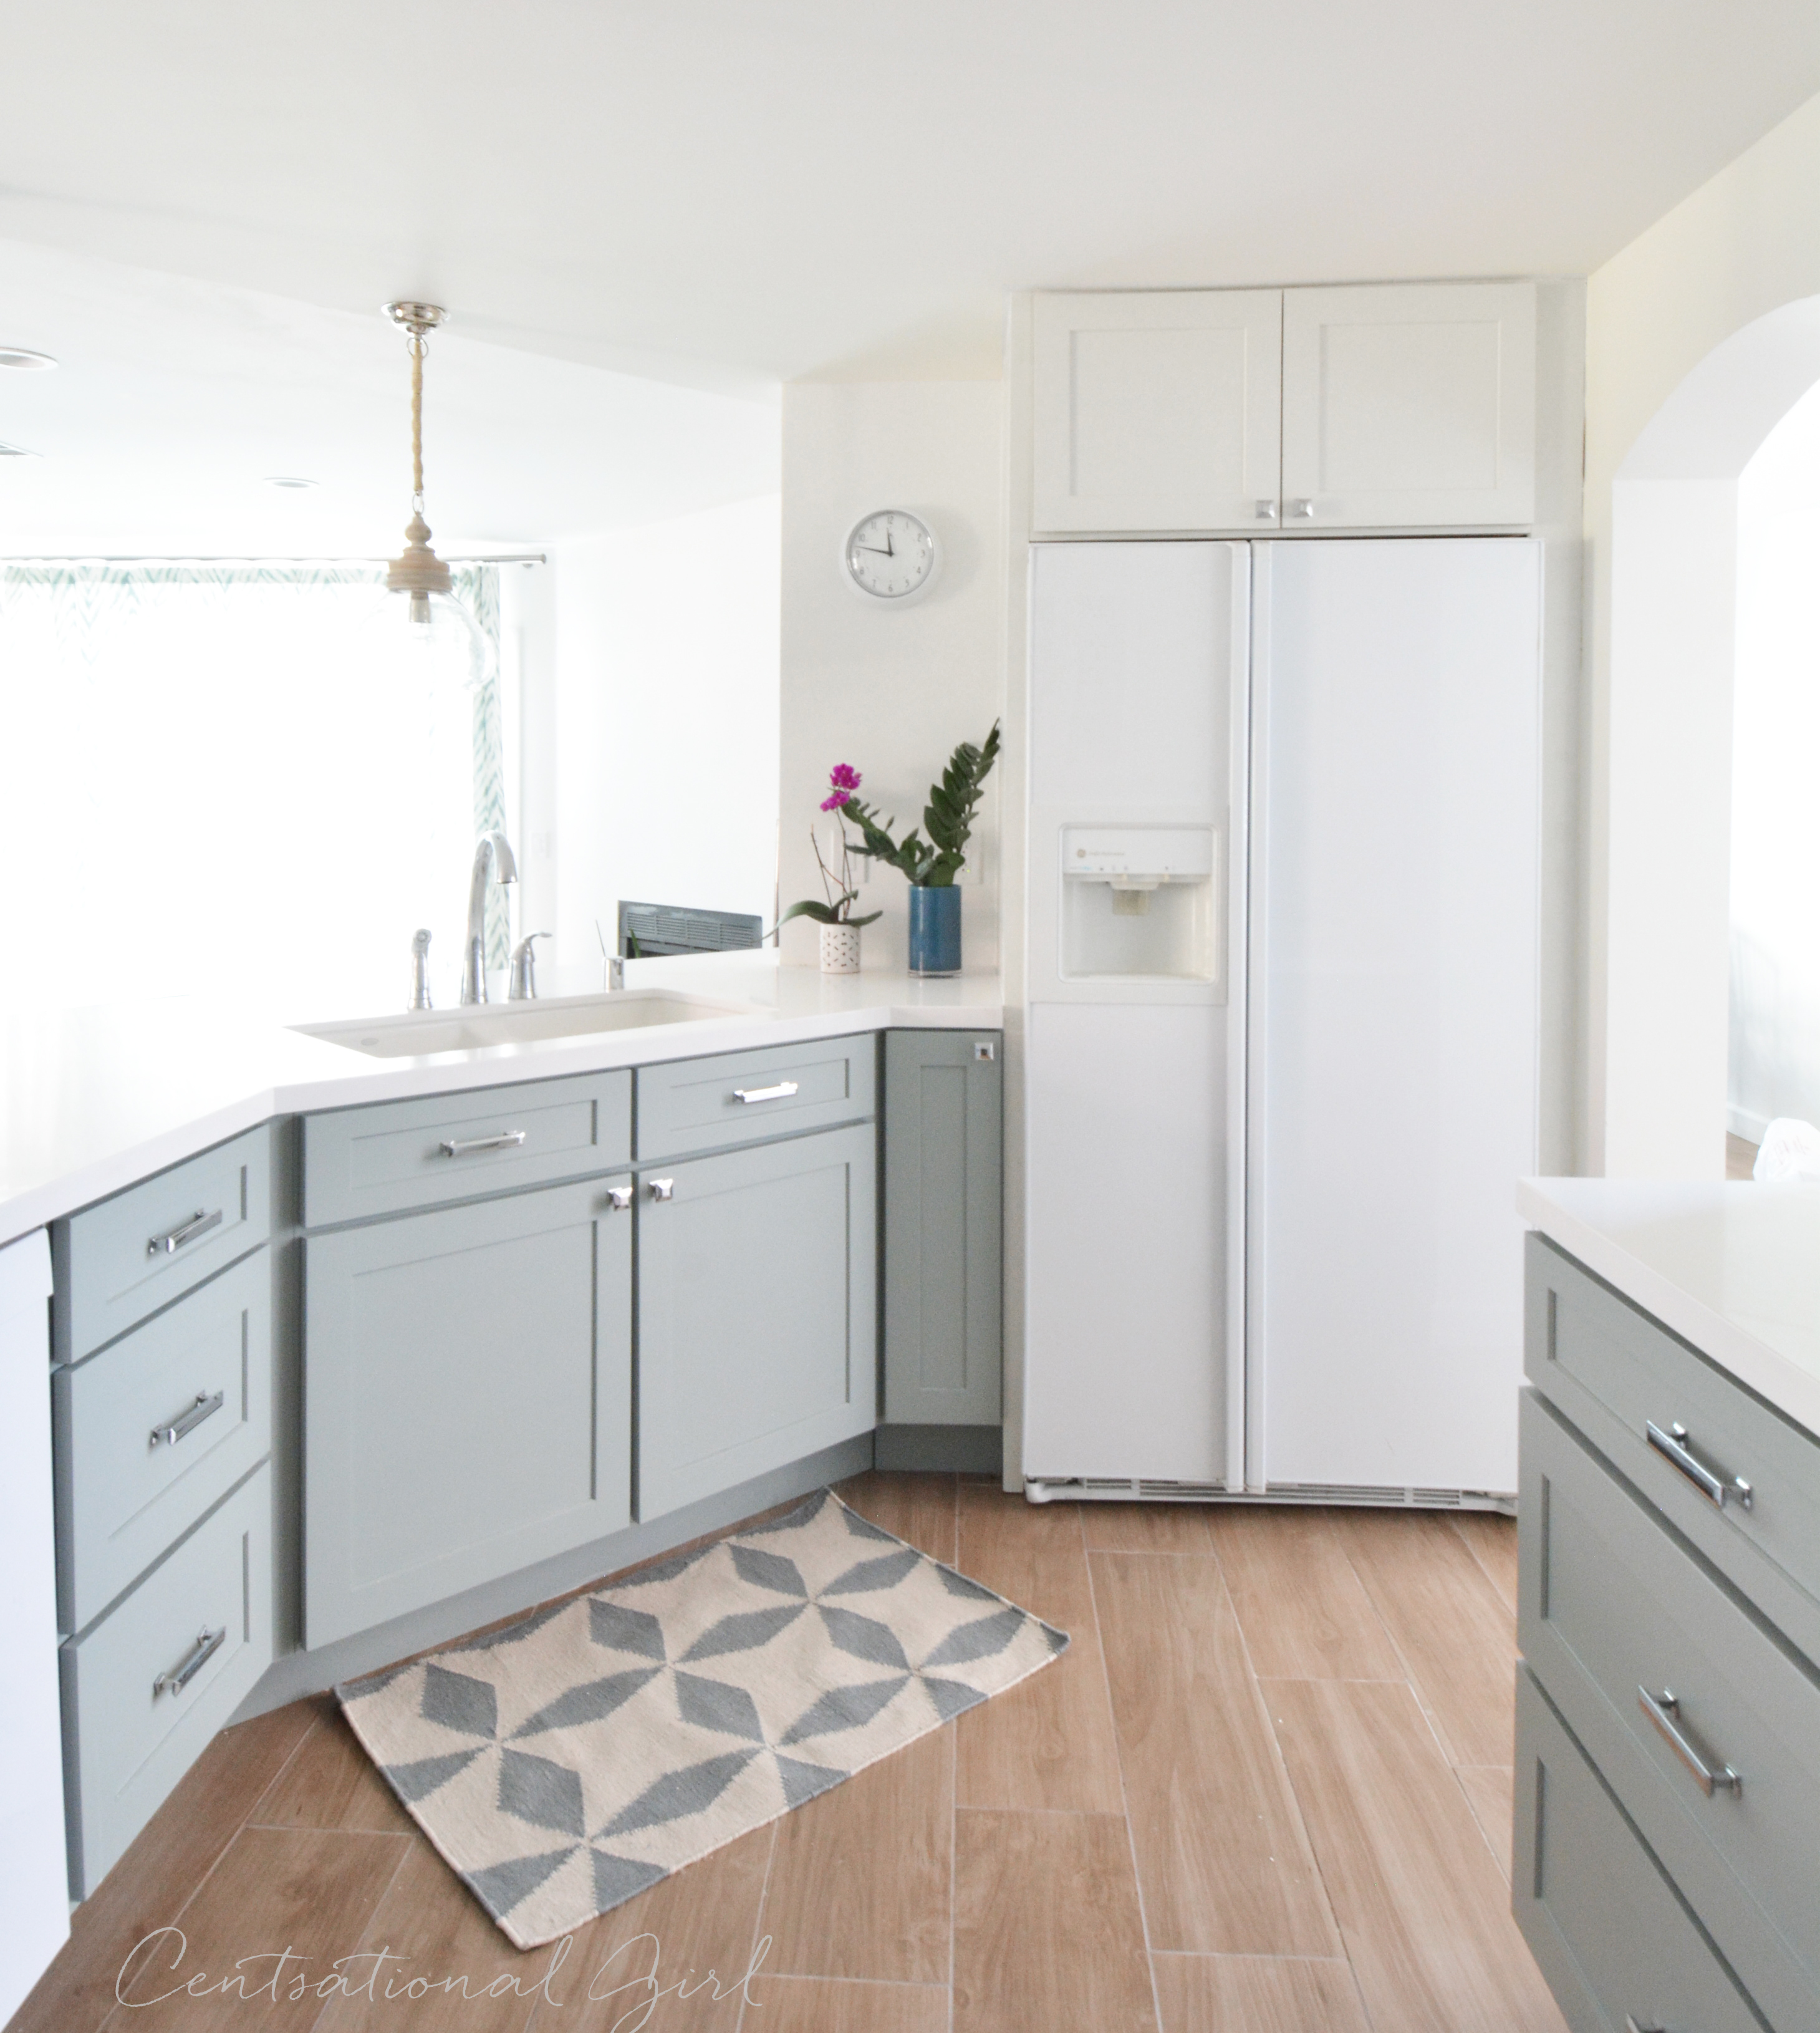
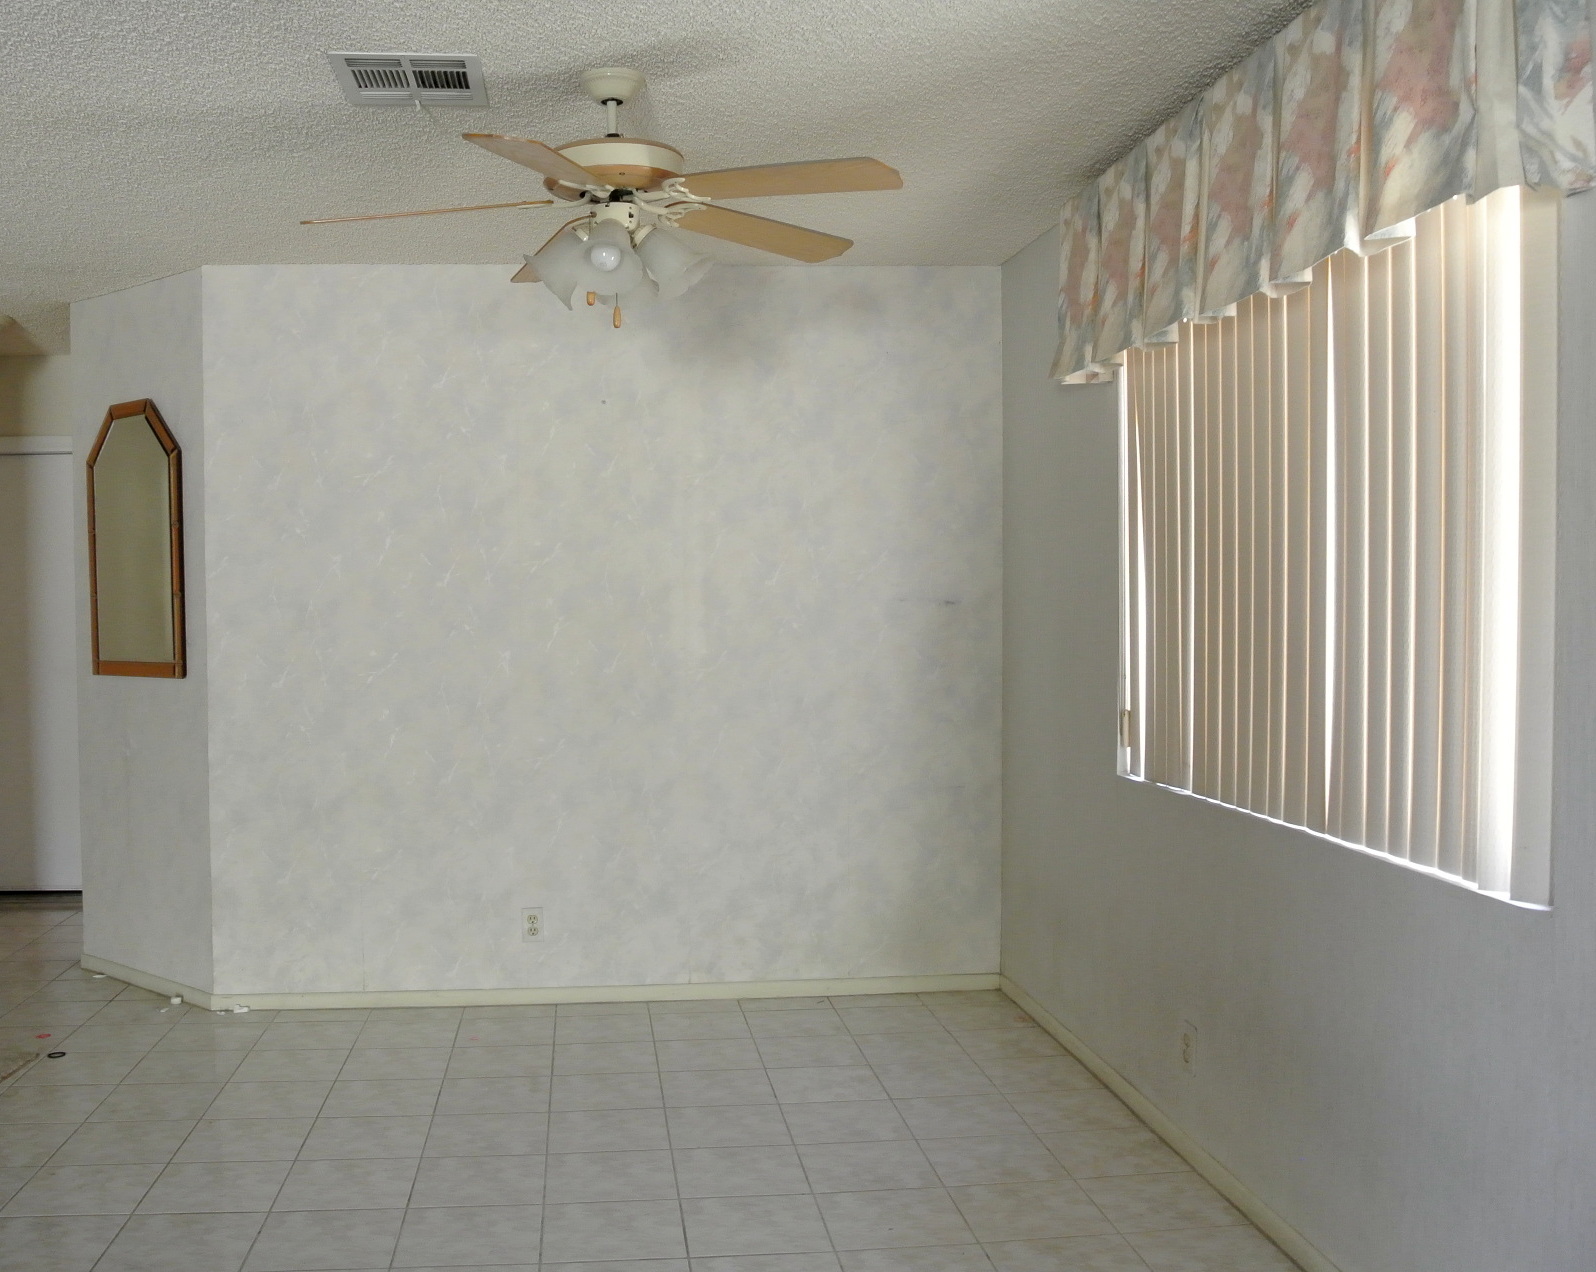
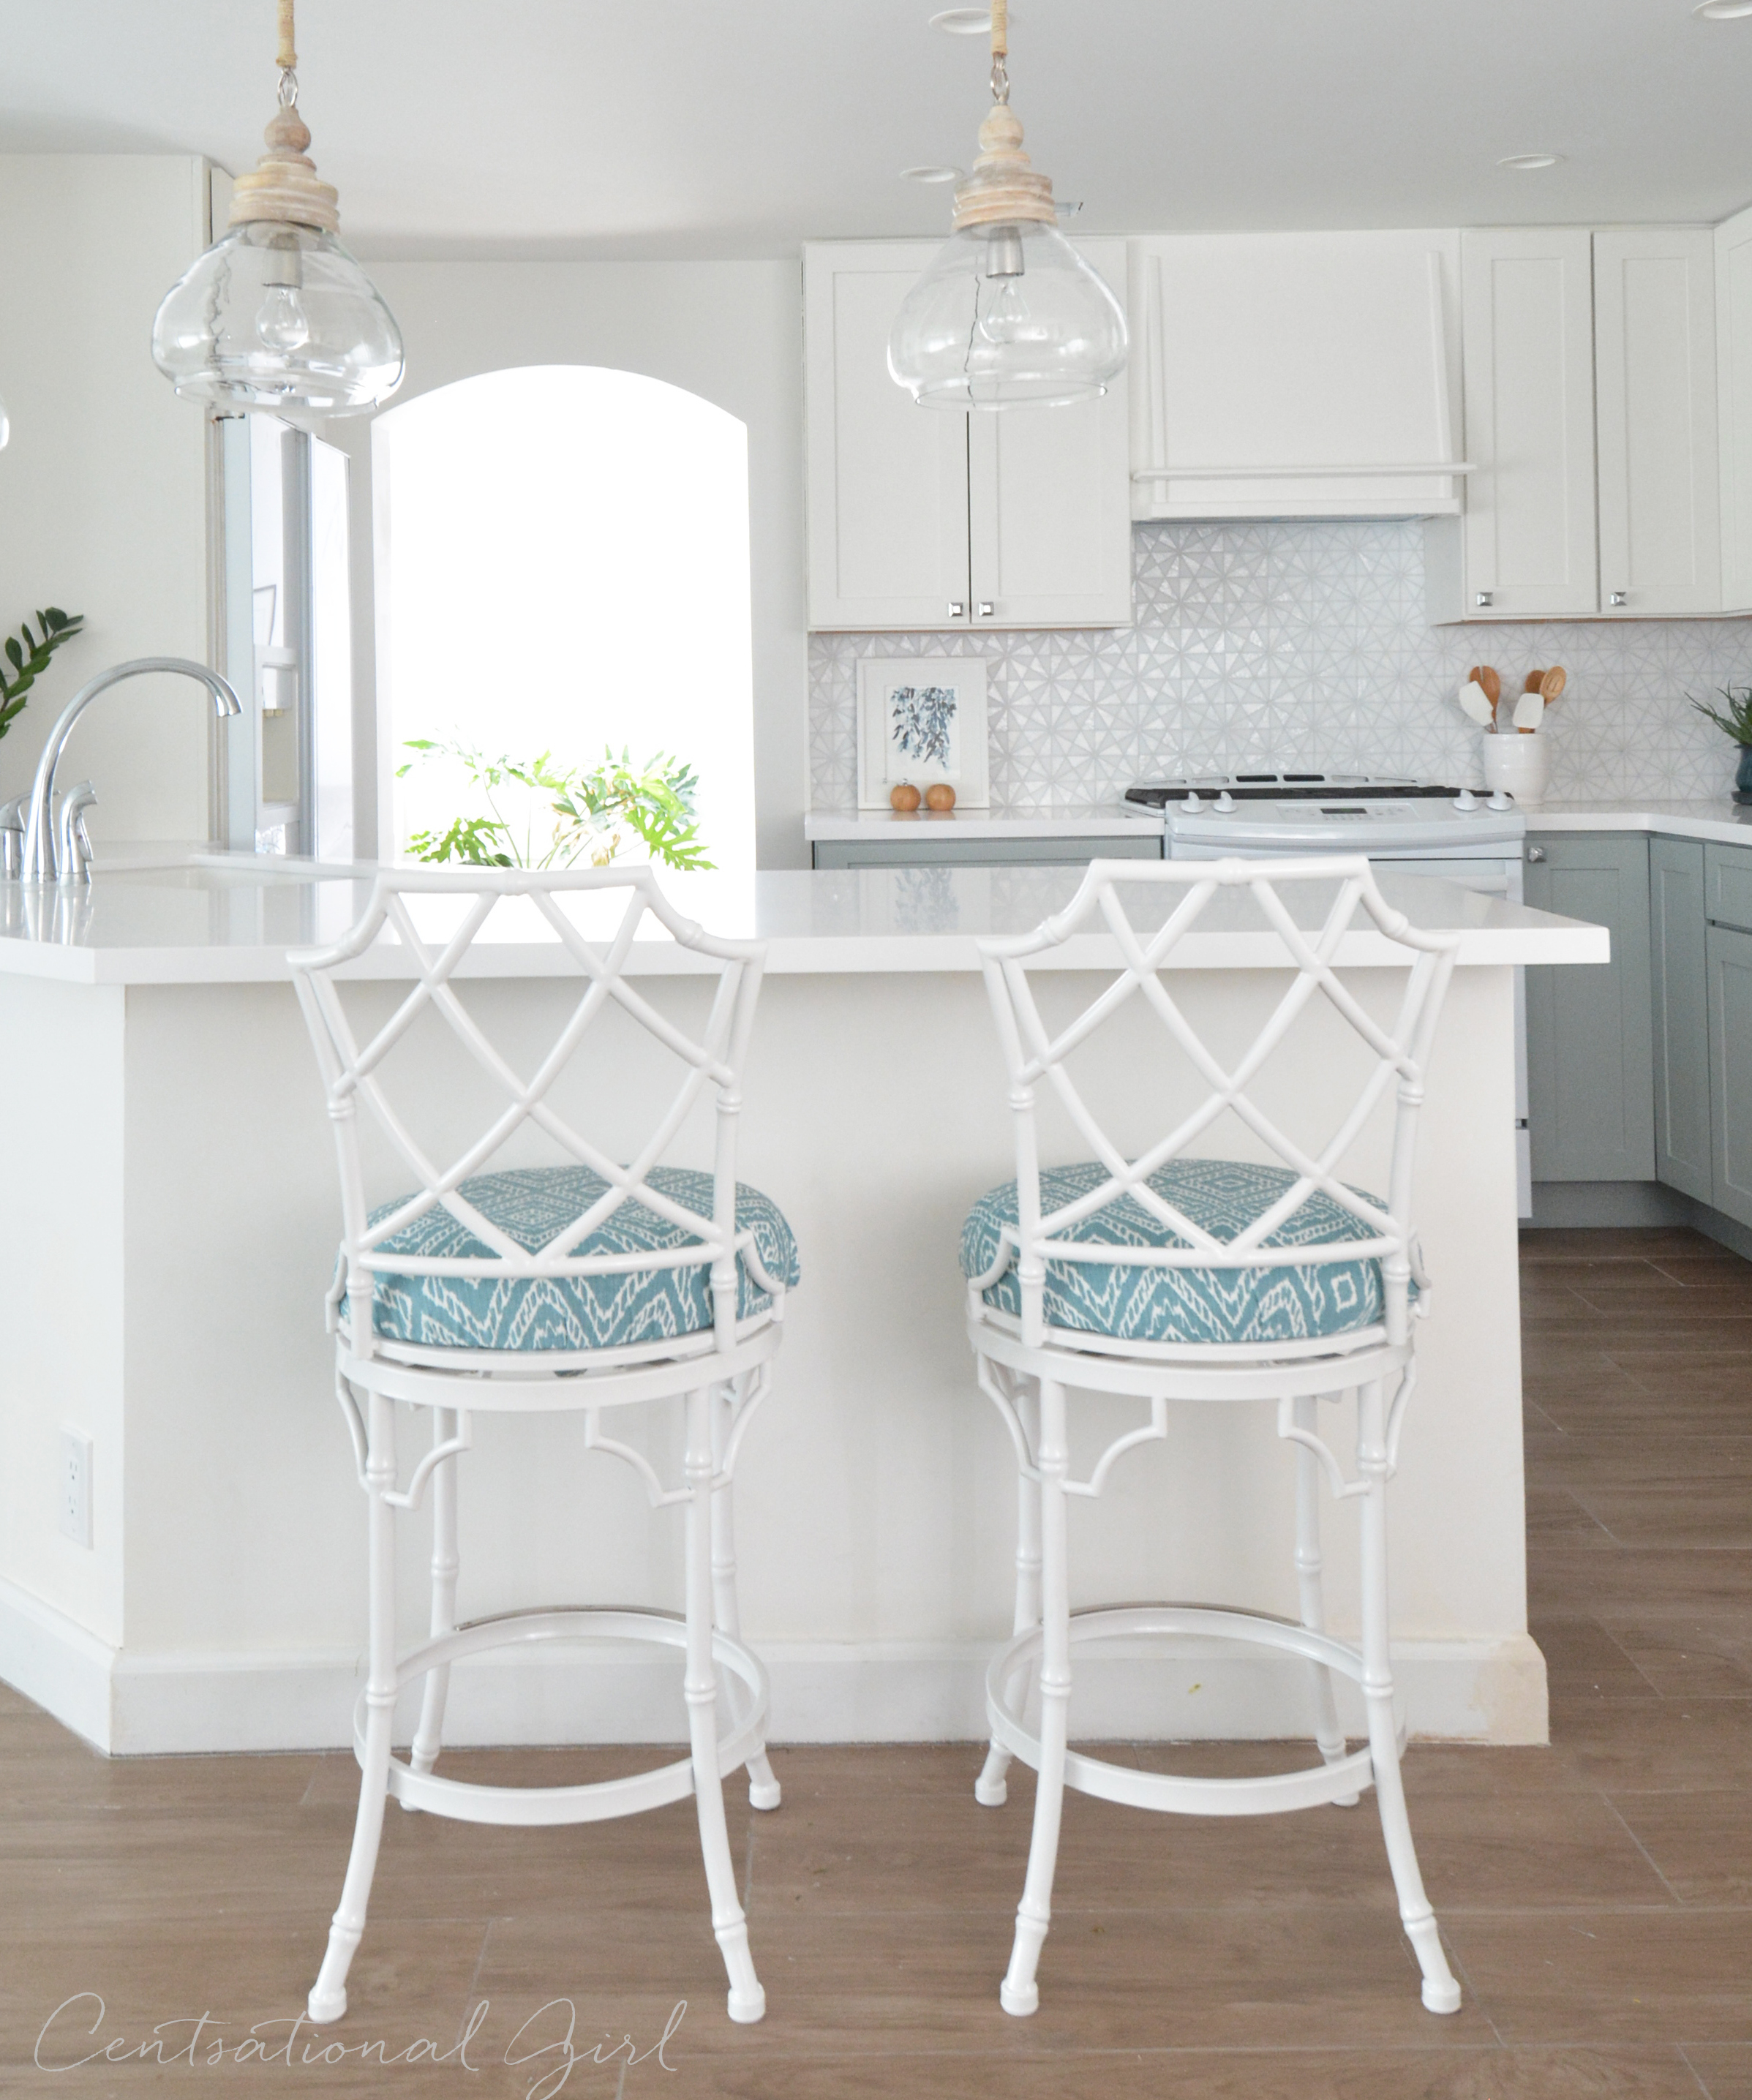
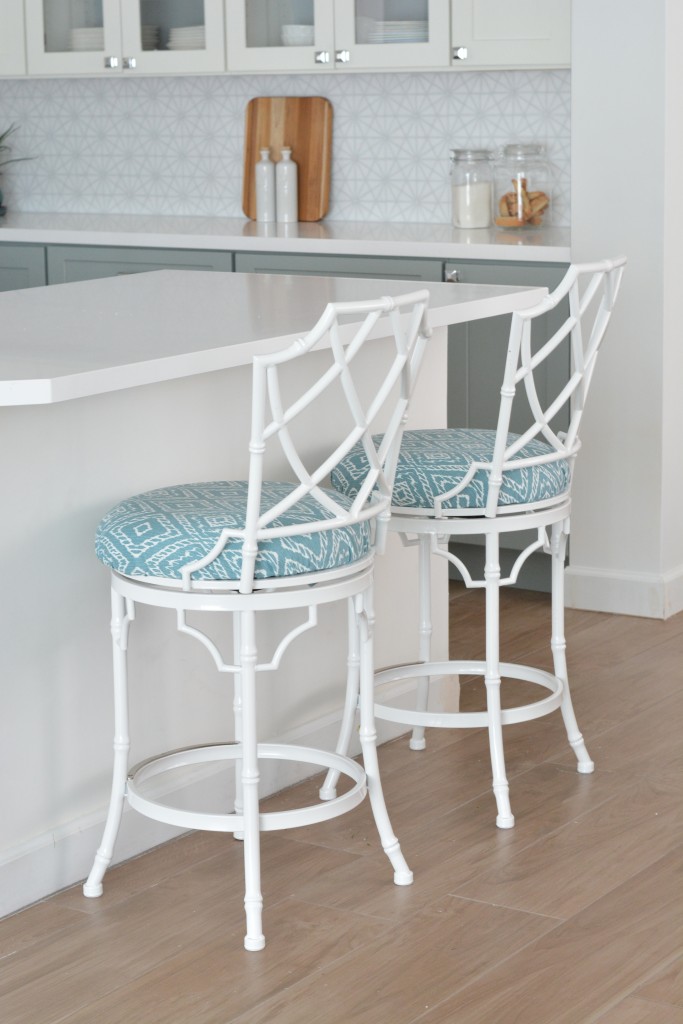
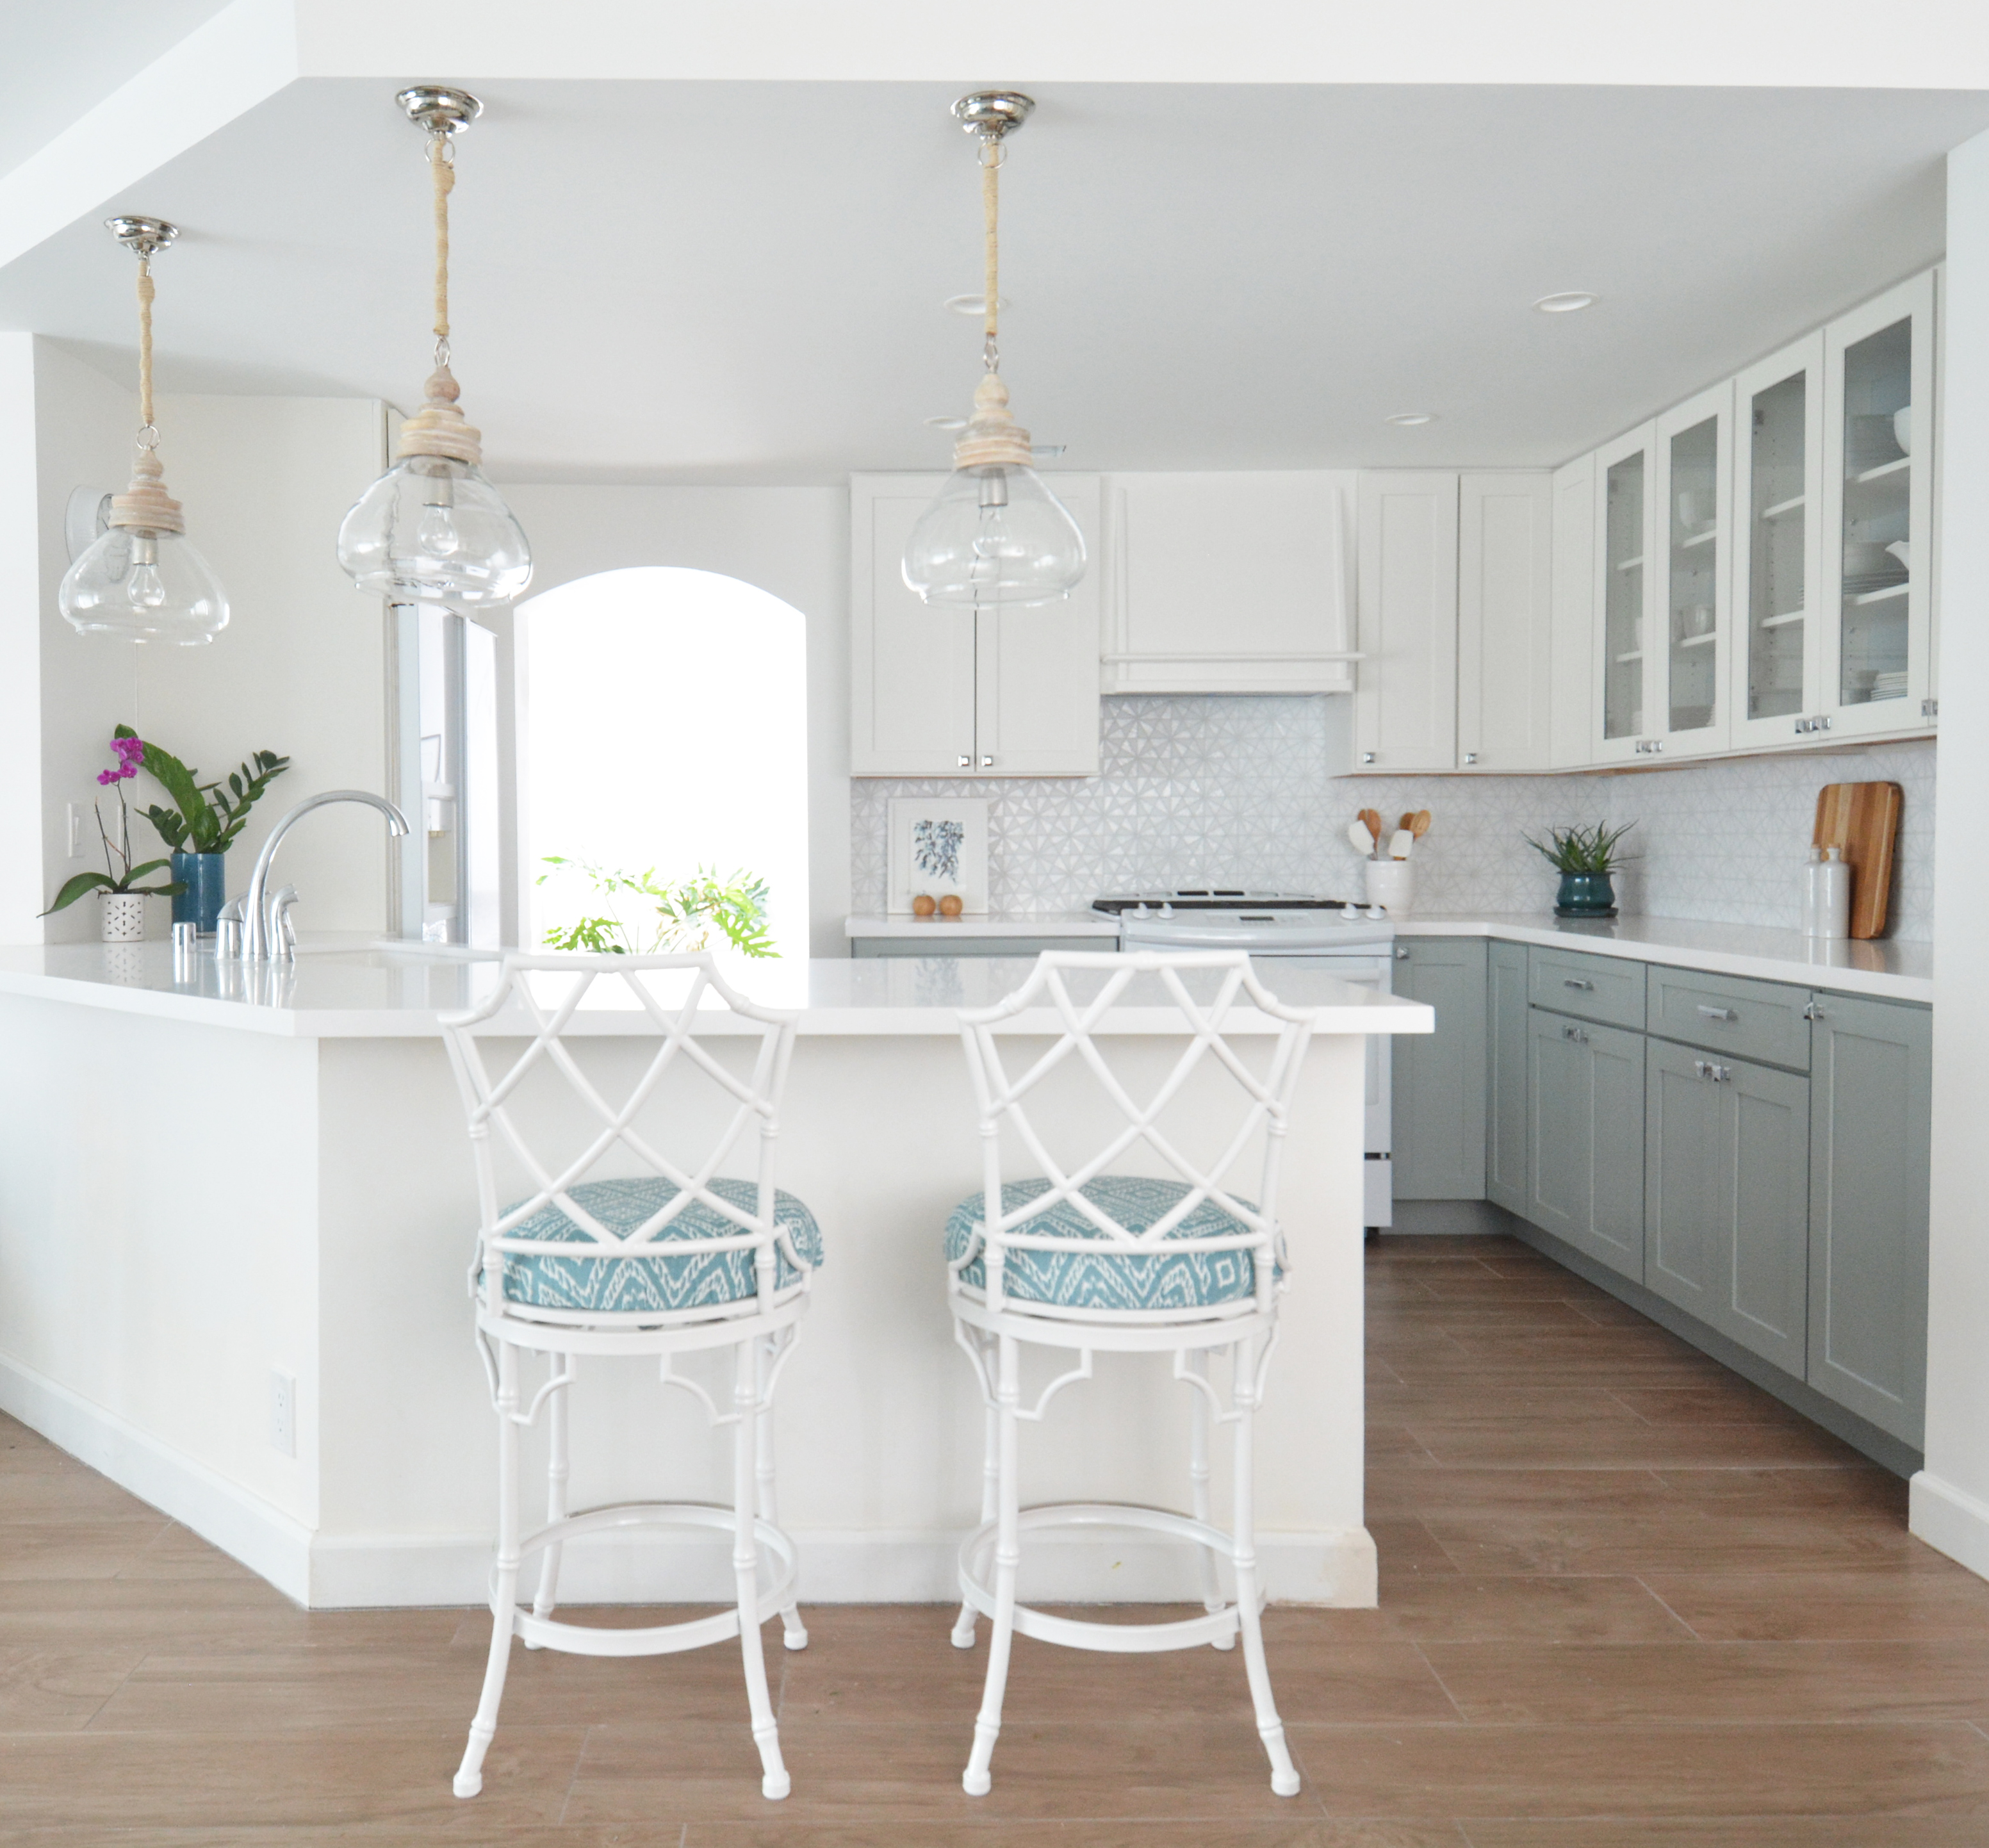
Whilst the next project on our to-do list is replacing our horrible bathroom, the other big project that’s high on our list of priorities is replacing our kitchen. It’s a complete mess. It’s badly laid out, there’s not enough storage and the cupboards are literally falling off the walls! When we first moved in to... 

Read More »

The post Finding Inspiration* appeared first on Little House On The Corner.

Huwebes, Agosto 27, 2015

Should I Install Laminate Flooring Before or After I Install My Kitchen Cabinets?

Dear Bob and Betsy,
I would like to know if we can install laminate flooring before or after installing our new kitchen cabinets & counter -or- should we build kitchen first and then install laminate? We reside in FL where temperatures fluctuate less than other areas and the a/c is usually on all year. Would that solve the expansion/contraction concerns that leads to possible buckling. We realize that putting down the laminate after the kitchen is re-done probably is recommended, however then there is the problem of the dishwasher getting trapped in (for removal/repair), stove & refrigerator being different heights, with all 3 appliances affecting cabinet & counter height to make everything even. But then, if we put down the laminate first, how could we remove the planks if there is possible water leaks from refrigerator water line or dishwasher. We are so confused. The only solution would to put down porcelain tile first and then build the kitchen. However, we love the wood look & protection that laminate provides. Your thoughts on this ” dilemma” would be appreciated.
– Scot S.

Dear Scot,

You’re right! With so many pros and cons for both sides, this often feels like a dilemma during kitchen remodels. This is a big project and you want everything to turn out perfectly.

There are a few risks with installing your shelving and appliances after your laminate flooring. These include the expansion and contraction risk you referenced, and the length of the strips.

Expanding and Contrasting 

You mentioned that your house is fairly consistently acclimatized with your air conditioning running year round. Living in Ohio, we’re jealous of your warm weather, but we digress.

Even though your home is acclimatized, your appliances hinder the natural expansion and contraction process. With a heavy cabinetry on top of your floating laminate floor, it’s harder for the wood to move naturally.

Cutting the Strips 

The good thing about laminate flooring is that it’s easy to repair. If it’s damaged, you can replace a small section without having to replace all of your flooring.

When you place your laminate flooring strips underneath your cabinetry, you make the process more burdensome. Appliances can be moved but your shelving and counter top infrastructure cannot.

The Answer to Your Dilemma 

The best way to accommodate your floors, shelving and appliances is to work in this order:

  1. Install your cabinetry and shelving space first.
  2. Install your flooring.
  3. Add your appliances.

It might make the measurements a little more difficult, but it’s worth the extra calculation effort. This way, if you need to remove any of the planks due to water damage as you mentioned, you won’t be held back by having your shelving unit installed on top of the flooring.

If you’re determined to install the flooring first, use a piece of plywood as a filler piece. Avoid installing the flooring in that area to account for the shelving unit. This is a more difficult way of doing it, but it’ll give you the best life out of your floors. Don’t forget to leave yourself a quarter inch gap from the wall to allow for the expansion and contraction.

More laminate installation help:

The post Should I Install Laminate Flooring Before or After I Install My Kitchen Cabinets? appeared first on Passion for Home - Bestlaminate Blog.

Kitchen Remodel

Hello ! Today’s the day to share pictures of the kitchen remodel with all of you! I’ve written about the process a few times before and I partnered with Cliq Studios using their cabinets to jump start this remodel.

I’m breaking this remodel feature up into two posts, today is the beauty shots with some before images for comparison, it’s quite a transformation! Next week I’ll share the back story with all the little decisions, details, and setbacks that occurred during the nine month renovation, plus sources too.

white glass tile backsplash

So, back to the beginning. We bought this house last summer but didn’t begin the kitchen renovation until December. It began with demolition, we removed all the cabinets, the wallpaper, the florescent box ceiling light, and the flooring. Here’s what the range wall looked like before the demo.

range wall before

This kitchen demolition went down to the drywall, and we installed new cabinets from Cliq Studios, read about the installation of the cabinets in February here. I wanted light and bright since the space has no windows so white cabinets were the starting point. For a modern twist I used the Harbor color below, here’s what the range wall looks like completely remodeled from floor to ceiling.

white upper cabinets range wall

.

This backsplash I love, it’s Tessera from Oceanside Glass Tile.

white upper kitchen cabinets gray lower glass tile backsplash

I wanted something different and fresh, modern and geometric and found it in this hexagon pattern broken up into smaller triangle shapes. This is the Kaleidoscope pattern available in dozens of colors but I chose tone on tone white, mixing both matte and iridescent hand cut tiles, half of them shimmer in daylight and are so pretty! The grout is a pale gray to provide a touch of contrast, I’ll share more about its installation next week.

irridescent backsplash


glass tile backsplash detail

There is no window in this kitchen, the space gets its light from the windows in the family room, breakfast nook, and living room so the backsplash changes throughout the day, more subdued in the evening when the tiles aren’t reflective but they sparkle in the daylight.

hexagon irridescent glass tile backsplash


hexagon glass kitchen tile backsplash

On the adjacent side is a second wall of cabinets, notice the the old florescent light box and wallpaper, both were removed. There was a pantry on the right on the angled wall that took away counter space, I moved the pantry to the adjacent breakfast nook space (see pictures below).

oak kitchen before

For storage I chose another wall of upper cabinets but included some glass cabinets in the center for display. The old box fixture was replaced with four recessed cans.

white and gray kitchen remodel

I painted the inside of the glass cabinets the same shade of gray as the lower cabinets to tie the upper and lower cabinets together.

painted interior glass cabinets

The countertops are Caesarstone quartz in Pure White with a square edge, read all about the story of the countertop installation, it’s featured today on the Interior Collective blog.

caesarstone pure white quartz countertops

On the fridge side, more 1980s wallpaper! All of it was stripped and the cabinets removed.

kitchen 7

The old and perfectly good refrigerator we moved to the garage. I didn’t care for how the standard depth stuck out into the entry so I found a used counter depth fridge which doesn’t block the entrance and designed the new cabinet plan around it, framing it for a more custom look.

counter depth refridgerator

Here’s a better view of peninsula that looks out into the family room (but after the wood plank tile floors went in.) Later we removed these cabinets, cut down the pony wall, and patched the tile floor underneath so that the new cabinets and dishwasher sat on the same tile, more on that next week.

peninsula wall

We kept the appliances in the same spot, this is a slab foundation so it makes it difficult to move plumbing. We cut down the peninsula so that it’s counter height and at one level which is a huge improvement, the counter is now one level surface.

refridgerator and peninsula

Looking in from the other side…

kitchen remodel full view

Over the peninsula hang a trio of weathered wood and glass pendants.

pendants weathered texture

The hardware on the cabinets is the same square nickel pulls I used in the gray and white kitchen remodel completed earlier this year, the same faucet too!

cabinet hardware

Here is the breakfast nook before, the kitchen is on the left. Over the course of a year, we removed the popcorn ceiling, old wallpaper, and ceiling fan and replaced the flooring and window treatments too.

breakfast nook before

As mentioned above I moved the pantry out of the kitchen to allow for more counter space in the kitchen and created a new storage area in the breakfast nook for food and bulk items with twin tall cabinets, in between are glass upper and a lower cabinets with the same Caesarstone quartz countertop for small appliances.

breakfast nook and pantry


breakfast nook beaded chandelier


breakfast nook table


pedestal tabletop

Just a few feet away sit two faux bamboo white barstools which provide additional seating, they swivel so they can face into the family room for TV viewing or conversation. I recovered the seats in a turquoise fabric to coordinate with the layered blue palette.

open back barstools

chippendale back barstools


white blue gray kitchen remodel

 Next week I’ll share more of the back story behind the scenes plus all the sources for everything you see! What’s your favorite change in this space?

*This post is sponsored by Cliq Studios, we were provided with discounted kitchen cabinets, all opinions are my own.  

The post Kitchen Remodel appeared first on Centsational Girl.

A Waterfront Backyard You’ll Want to Recreate

Can you imagine living right on the water? Everyday waking up to salty breezes, sights of dolphins, fish, and nautical birds? An evening would consist of sitting around a fire white watching the sunset, or even better, sitting by the boat dock just dipping your feet in the water. Just the thought of this makes you feel relaxed dreamy.  Escape your busy reality, sit back and enjoy a tour through a waterfront backyard with beautiful landscaping.

Gorgeous trees and plants accompany this house perfectly

The Spanish Moss trees instantly add a Southern, lowcountry look, and the garden of plants make this home natural and fresh.

DSC_6176 copy

The back steps will make you want to call their landscaper immediately!

The back steps do a great job of combining a gorgeous variety of plants and a rustic use of brick and neutral toned pottery.

DSC_6189 copy

Little details throughout the landscaping

Lowcountry birds, gnomes, and once again – BEAUTIFUL plants!

DSC_6187 copy DSC_6186 copy DSC_6182 copy

A back deck that embraces nature

From the different usage of pots to the variety in plants and mini-trees this back deck is something to talk about!

DSC_6168 copy DSC_6166 copy

The small details count!

I couldn’t help but smile when I walked past this small pig on the post – how adorable!

DSC_6163 copy

Head further back and you’ll find a fire pit with a perfect view

I could get used to sitting around a fire every evening…especially when you have such beauty to look at! P.S. the usage of colorful chairs really adds a splash of FUN to this backyard.

DSC_6171 copy

This waterfront backyard takes landscaping to a-whole-nother level!

You would swear you were in a public park or garden!

DSC_6162 copy

Waterfront means boats.. which of course means your own personal boat dock!

Whether your sitting to enjoy the view, fishing, or actually taking the boat out for a ride this is such a lovely bonus to your backyard.

DSC_6222 copy

A hammock is essential in this waterfront backyard

Relax, read a book, maybe even take a nap! Notice the gorgeous plants that frame the hammock and lead to the boat dock!

DSC_6242 copy DSC_6244 copy

“Every sunset brings the promise of a new dawn”

I instantly thought of this inspiring quote when I saw the amazing sunset that ended this beautiful tour. Can you imagine ending every work day with this gorgeous view?

DSC_6250 copy

Now that you’ve taken a tour through this beautiful waterfront backyard we hope you will be inspired to add some gorgeous landscaping to your yard! Pretty soon you too can be relaxing in your garden reading a book while lying on a hammock!

The post A Waterfront Backyard You’ll Want to Recreate appeared first on Passion for Home - Bestlaminate Blog.