Hello Bestlaminate fans! I'm back here at the Passion For Home blog to share some cheap & easy ways to organized under the kitchen sink. There is nothing like that feeling of having everything clean and organized. Sadly, I wasn't getting that feeling when I reached under my sink for the dish soap, so I decided to do something about it. If you are feeling "blah" about yours, you can too!
My under the sink storage space is pretty average, with two cabinet doors that meet in the middle and lots of plumbing pipes. The area wasn't horribly messy, but it was over-full and just not working properly, and that is something I'm really trying to remedy all over my home.
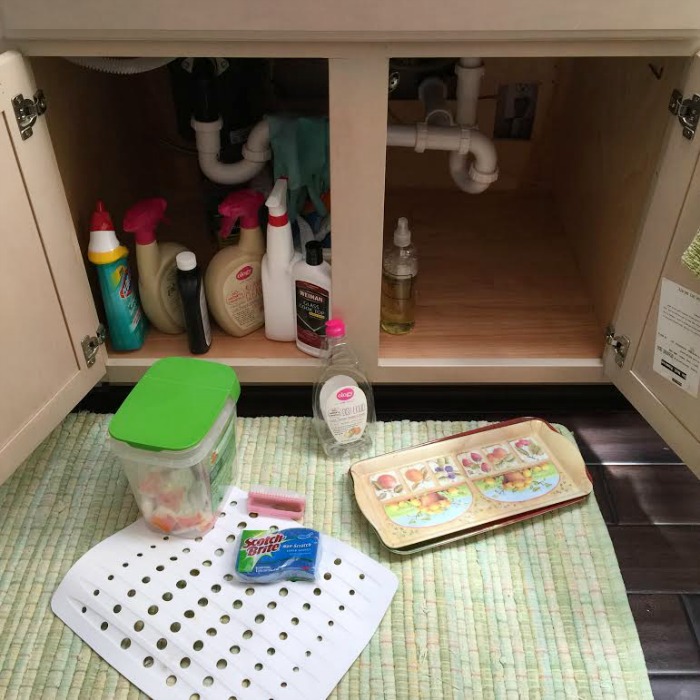
- Clean Slate: To get started, remove everything from the cabinet and set it on your counters. (in this photo, I had already taken more junk out of the cabinet. It was stuffed.)
- Take Stock: Assess what needs to live under the sink and find a cleaning closet or cupboard for what does not belong there. You don't want to clutter up the area with things that don't belong.
- Fresh Beginnings: Next wipe down and clean your cupboard. I took this opportunity to remove the stickers from the inside of my doors. I took a snapshot of the cabinet maker information before removing, printed it and filed it in my file cabinet.
Make sure your cabinet surface is clean and dry, and get ready to put the necessities back!
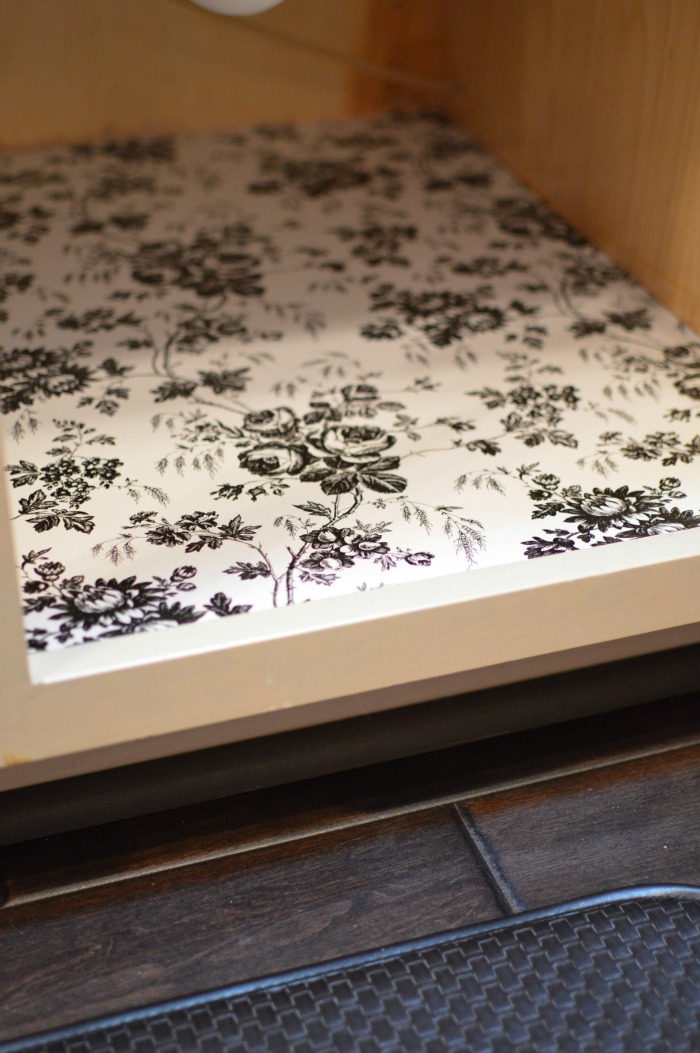
- The Basics: The first thing I added back was some shelf liner. You can find fun patterns everywhere. This was very inexpensive and I like the basic black & white color scheme. Shelf liner helps to protect your cabinet surface and it's easy to wipe clean.

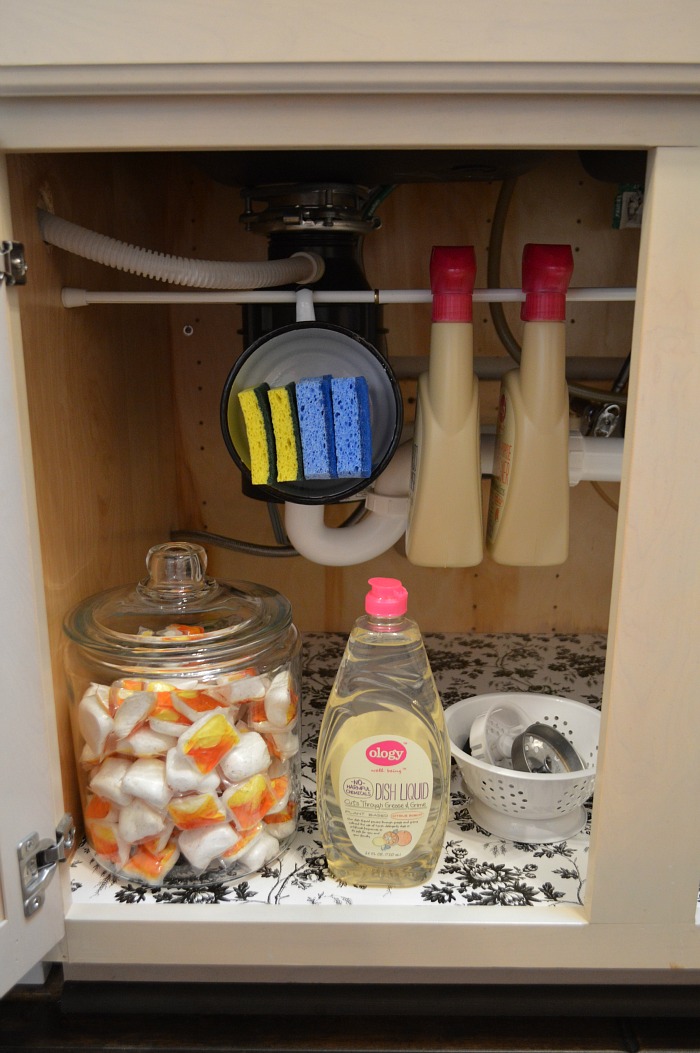
- Vertical Storage: After deciding what was absolutely necessary, I began adding my items back. Something I'd been meaning to try was adding a tension rod across the width of the cabinet.
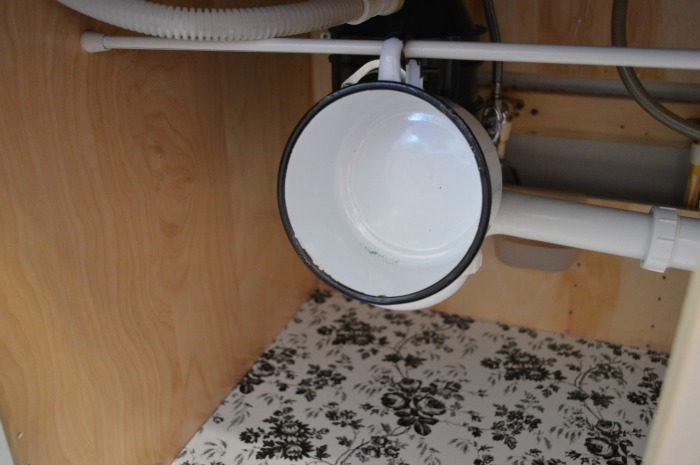
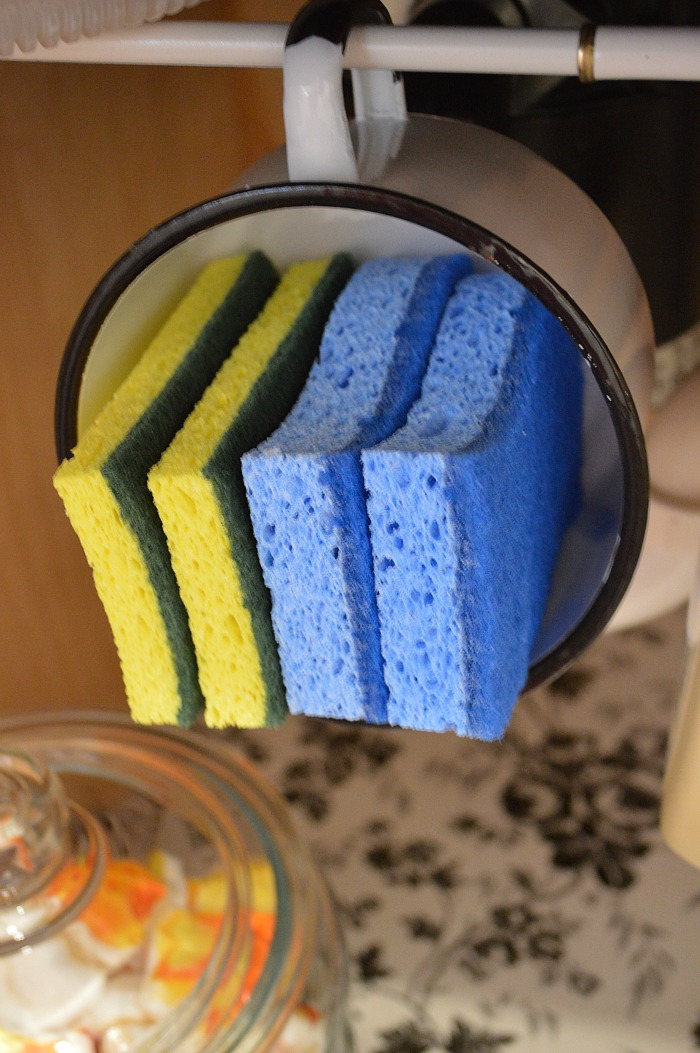
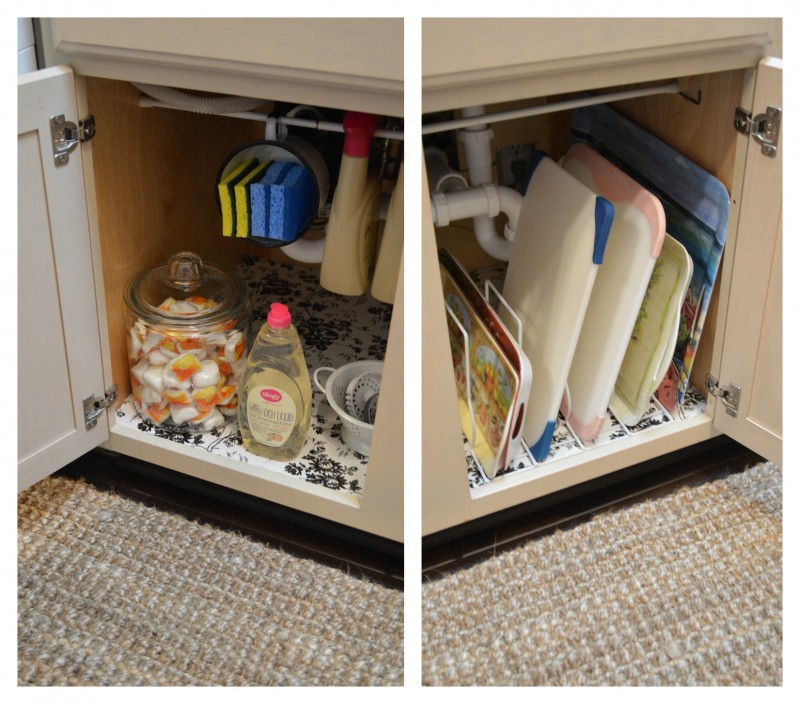
- Use Alternative Items For Storage: I slipped a chippy enamelware cup on my tension rod before I positioned it in the cabinet. It proved the perfect size for holding sponges.
- Tensions rods are perfect for slipping spray bottle triggers on and it makes them easy to grab & get to!
- Do What Makes The Most Sense For You: For me, and my plumbing configuration, I wanted minimal and streamlined. I can't really reach anything in the back of my cabinet unless I remove everything from the front, and that is just frustrating.
- Of course, if you need the extra storage, use it! Less frequently used supplies can be stored towards the back of the cabinet.
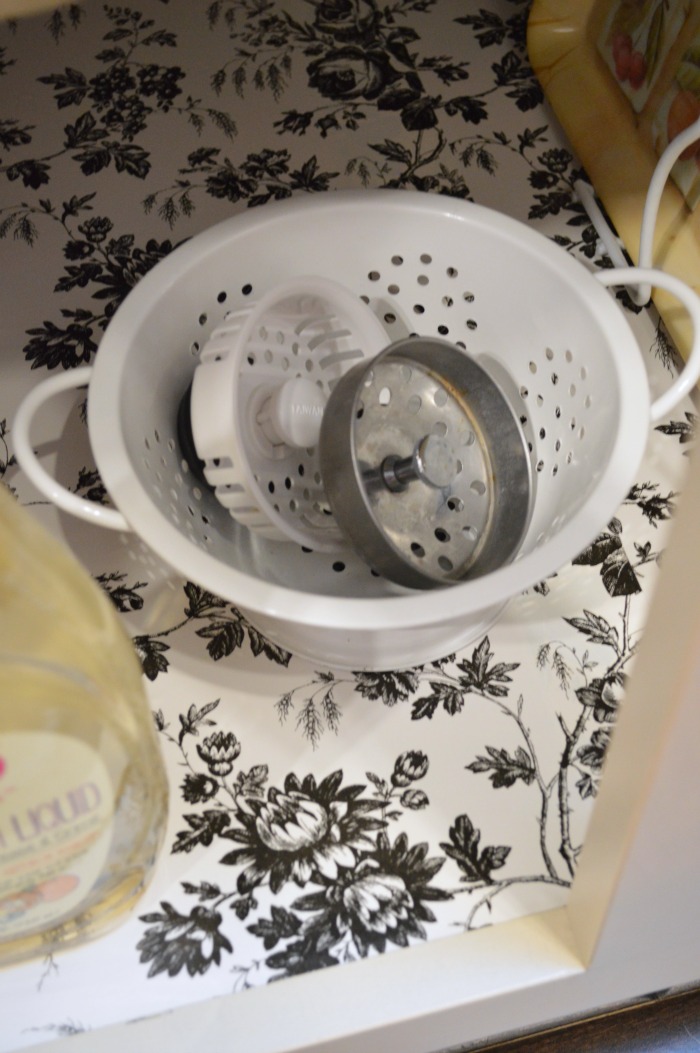
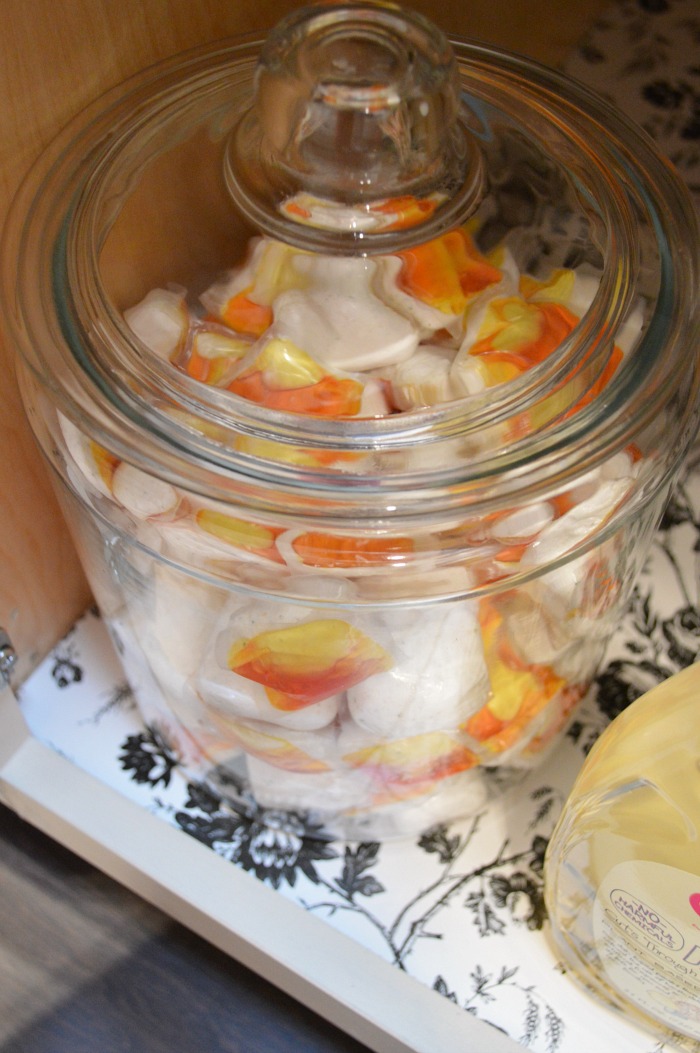
- Eye Pleasing Storage: Dishes are my least favorite chore. I will scrub bathrooms to avoid doing a sink-full of dishes. Don't ask. I know it's so silly! I thought maybe having a mini strainer for my sink stoppers, and putting my dishwasher pacs in a pretty glass jar would be nice. And it is!
- Multi-Use Organizers: Another thing I did to help this spot be better organized, was to add a pot lid holder to the right side of the cabinet. We were pressed for space to hold our cutting boards and trays and I thought this might do the trick.
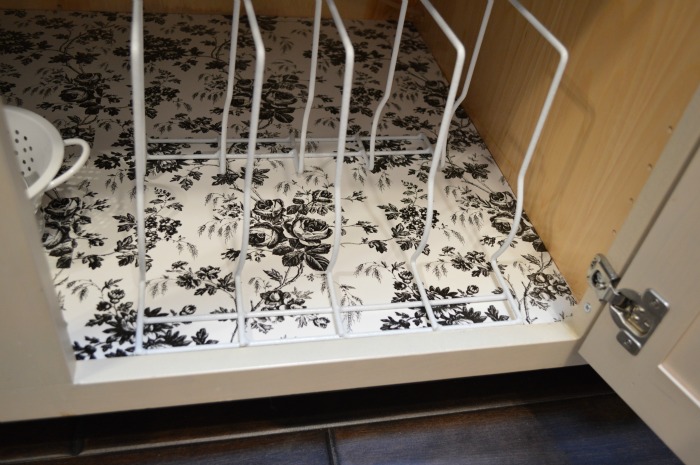
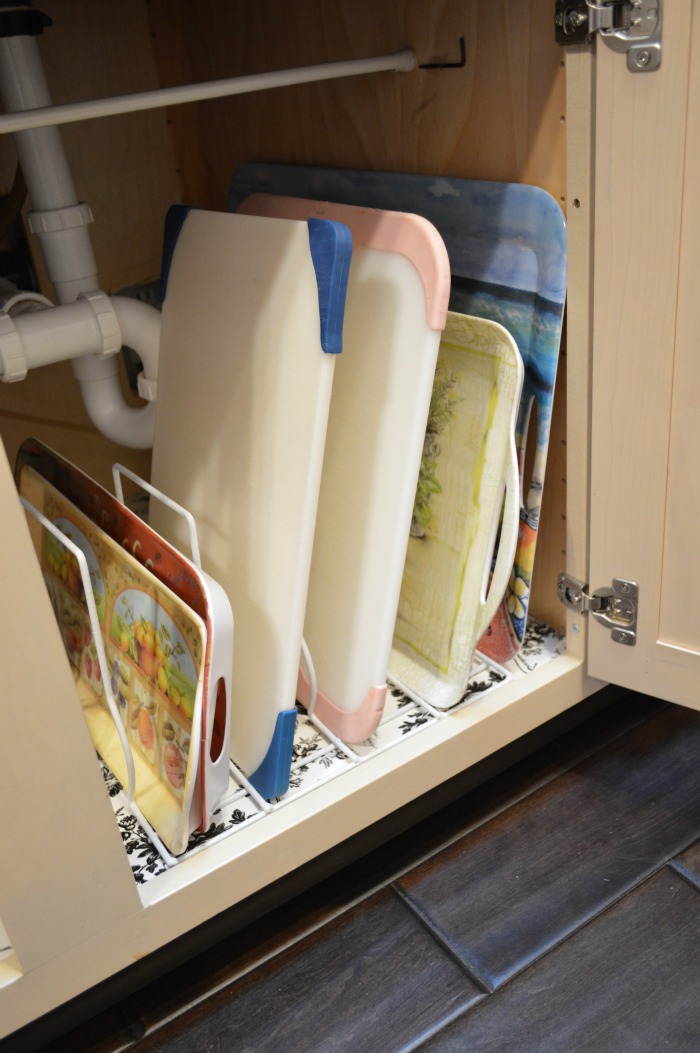
It works wonderfully! Now we can slide them in, instead of stacking them in a messy pile. The cutting boards are there, right at the sink where we need them and our snack trays are easy to wipe off in the sink and slip in a slot.
This solution could work great for cookies sheets too if you are lacking a good place to store yours.
Now, I know this isn't a mind-blowing makeover, but it's a nice, simple project that can make your everyday life a little easier and might just make the beginning or end of your day a little smoother.
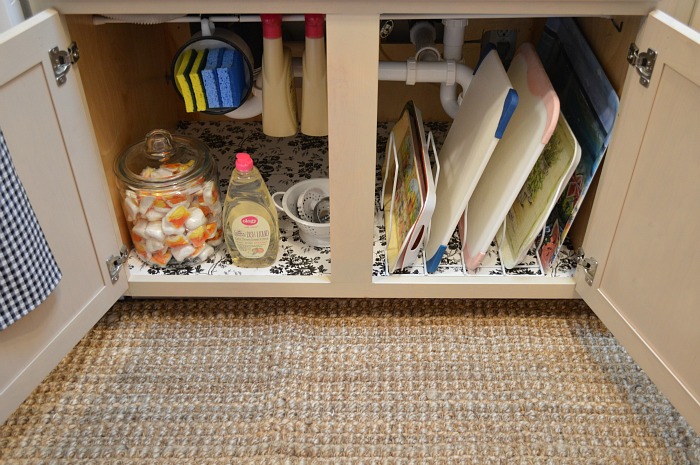
Now, when I walk in the kitchen, I know that the area under the sink isn't messy & yucky. And it feels nice!
I might even be a little more joyful when I do the dishes.
And a little more JOY is a good thing.
More Ways To Organize Your Home:
- Tips For Decorating and Organizing a Kids Bathroom
- Tips To Get Your Entryway Organized In The New Year
- 3 Simple Tips To Get Your Home Organized
The post Cheap and Easy Under the Kitchen Sink Organizing appeared first on Passion for Home - Bestlaminate Blog.
Walang komento:
Mag-post ng isang Komento