A great question landed in my inbox regarding subway tile installation, it's one I haven't tackled here on the blog, so today's a great day to do so!
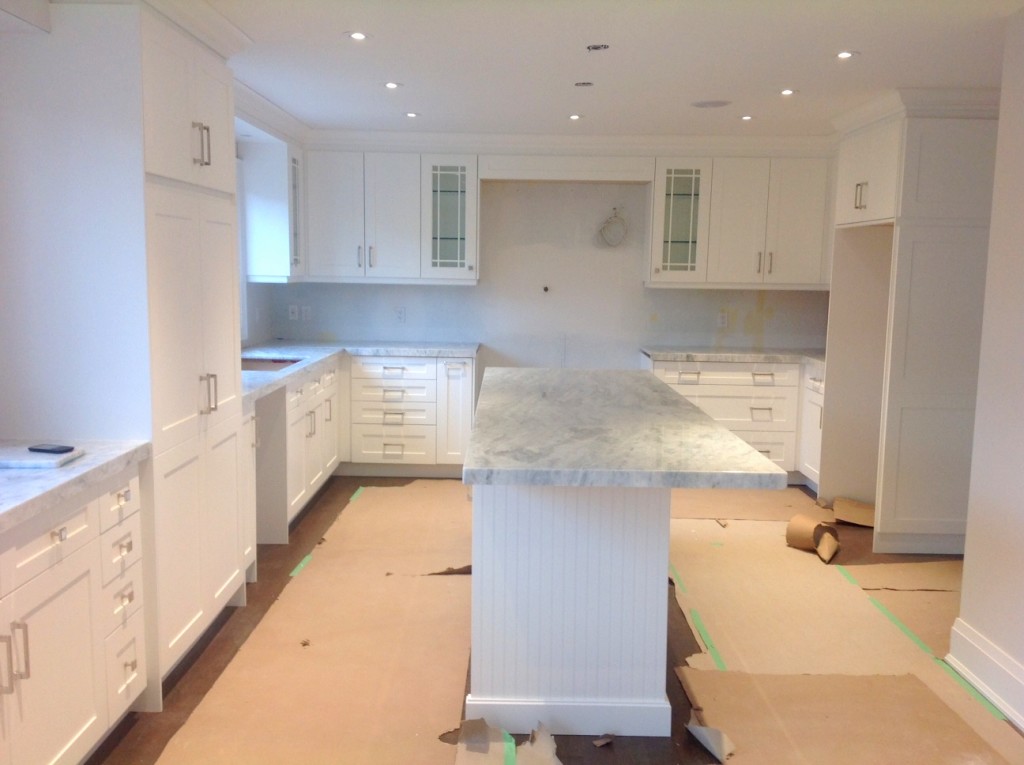
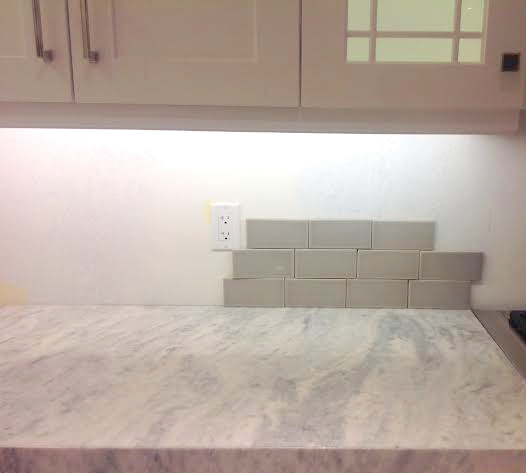
"Hi Kate, love your blog! I would love your opinion. I am using 3×6″ grey dove tile for a kitchen backsplash and now I'm confused about how to lay them! The picture shows a 1/3 offset, any help you have would be greatly appreciated! Many thanks!" ~ Franca
First of all Franca, your kitchen is gorgeous! I love all the classic choices, I can tell it's going to be quite fabulous when complete!
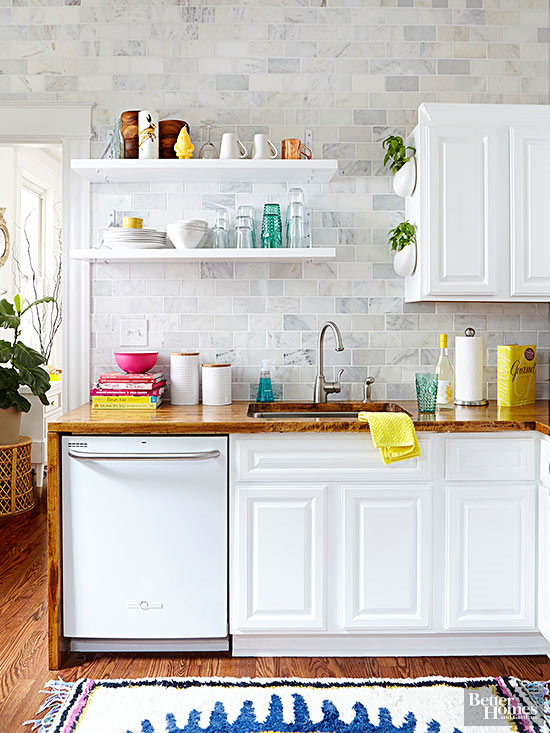
Most subway tiles come in 2 x 4″ or 3 x 6″ sizes, but there are other sizes too. I have white brick pattern tile in my own kitchen and I chose it 8 years ago because it's timeless and I'll never tire of it. With wood flooring, a random pattern is desirable but with a backsplash symmetry is important, and there are a variety of patterns you can create with subway tile.
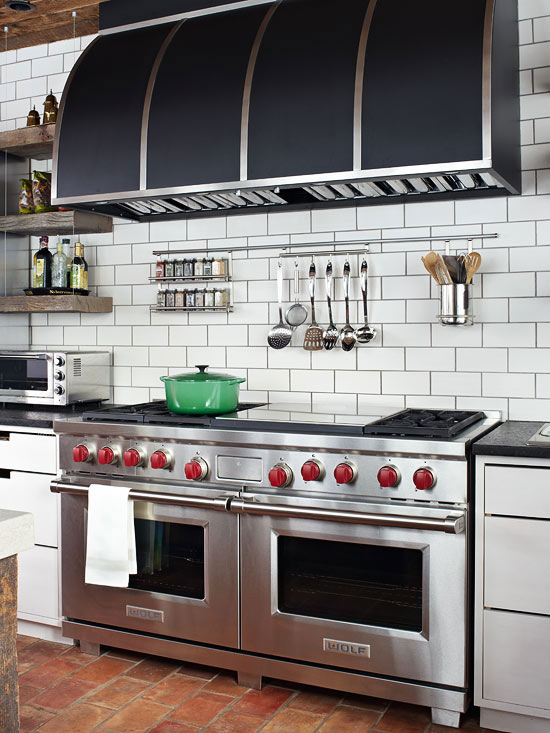
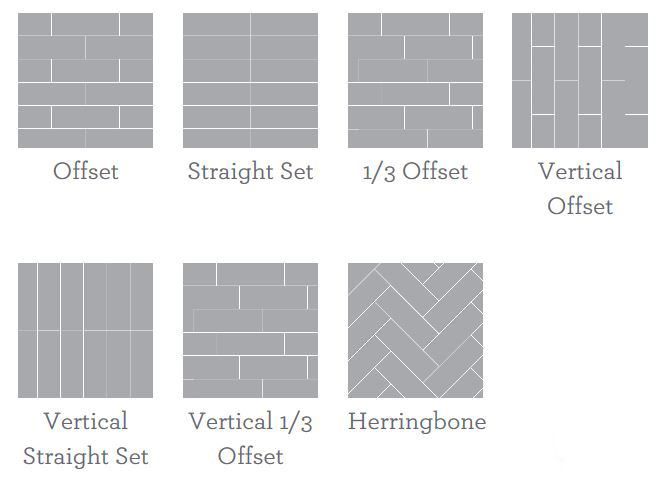
Classic 50% offset pattern for subway tile (sometimes referred to as "running bond") looks like the images below, with every other tile's edge matching up in a vertical line. You can choose no grout and skip the spacers, or with spacers match the grout to the tile or choose a different color grout for contrast, or instead of basic white opt for a marble or colored subway tile like you've chosen.
If you want to continue with the one third or 33% offset as indicated in your picture the movement will be different, it will look more like this:
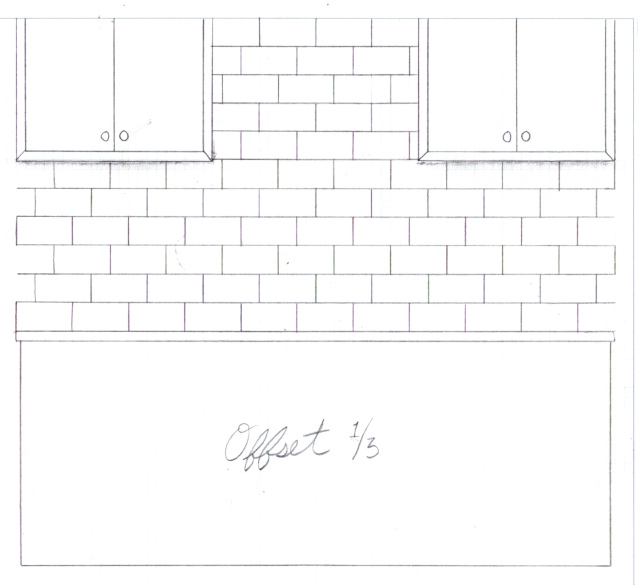 drawing courtesy of tile tramp
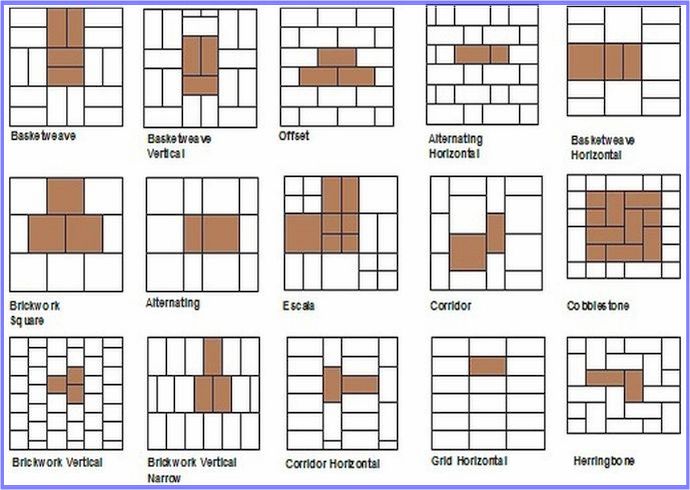
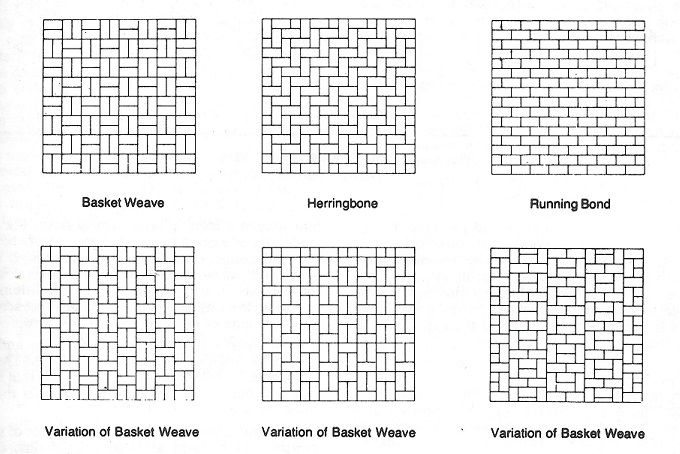
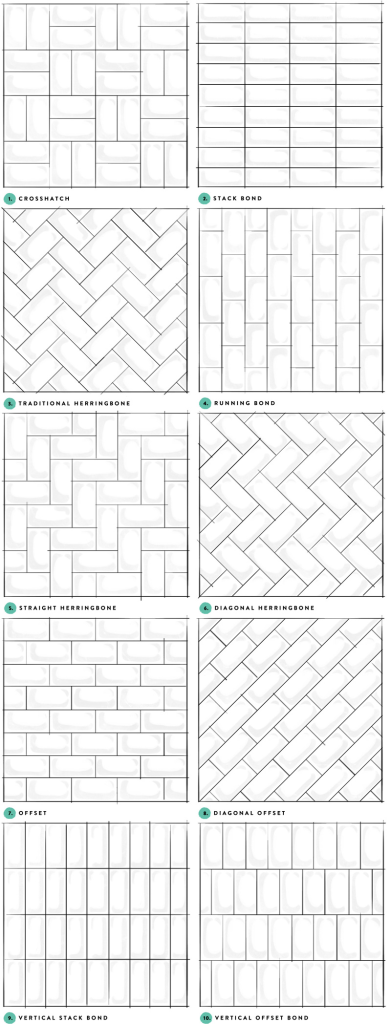
Rectangular subway tiles can be installed in many different ways, the symmetry makes them all great candidates for a backsplash, it's just a matter of personal taste, whether you want to go with the a basic offset 50% or 33% offset or mix it up with something a bit different like the examples below.
Take a peek at Apartment Therapy's roundup of examples of subway tile in real spaces in alternative patterns.
Elsie at A Beautiful Mess pulled together some tips and this graphic, visit their blog to view more inspiring images of these patterns in real spaces.
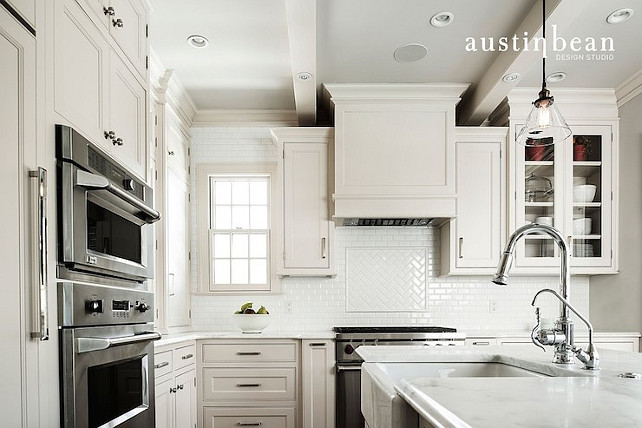
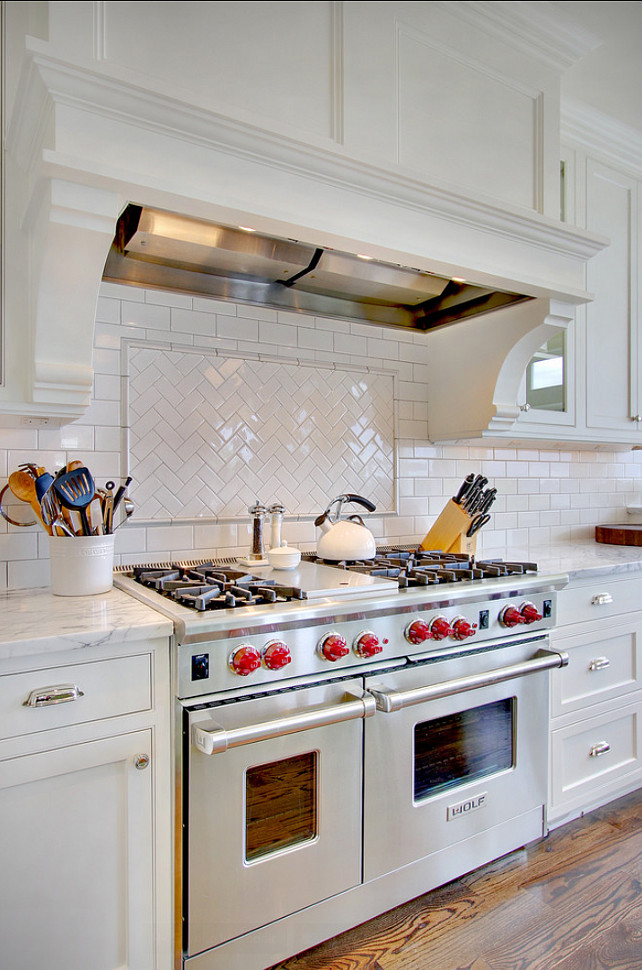
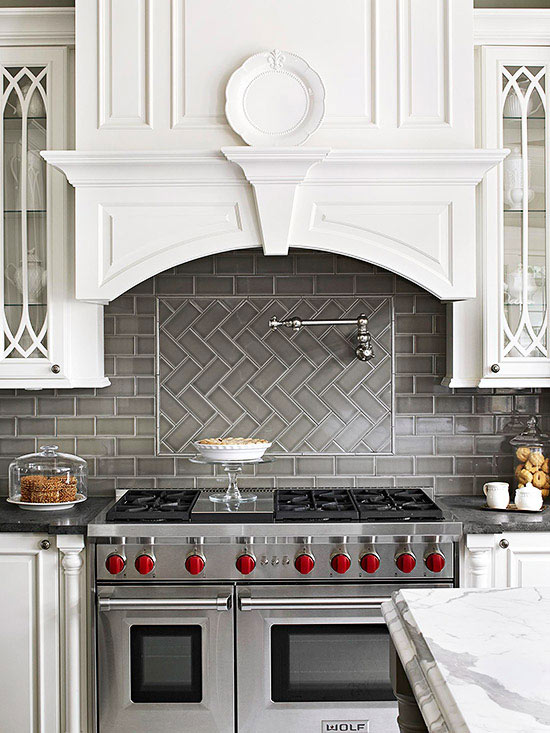
One traditional way of changing up the basic offset pattern is to use the same tile but in a different layout behind the range framed by pencil tiles (I did this in my own kitchen with white tile.)
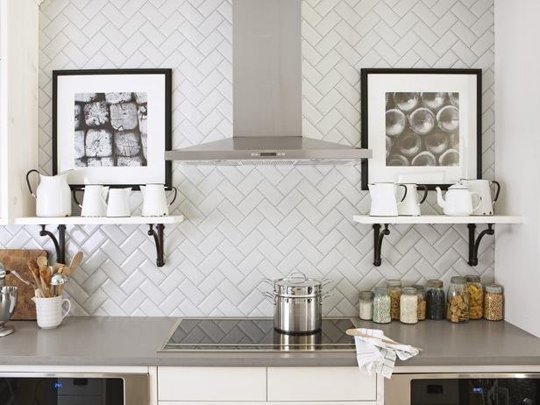
Here is personal favorite installation for subway tile, I'd love to do this in a bathroom or kitchen, it's the straight (or 90 degree) herringbone pattern, classic with a twist!
So Franca, it's up to you which way to you want to go. You really can't go wrong as long as the install is done symmetrically in any of the patterns featured above.
Readers, chime in! What subway tile pattern have you used in your home? Feel free to link to images/posts showing your subway tile installations!
.

Walang komento:
Mag-post ng isang Komento